Chilliwack condo · Completed March 19, 2026
A Bedroom of Her Own,
with Natural Light to Share
The customer had a studio apartment and wanted a separate bedroom. Building a wall through the middle would create that separation, but she also wanted to keep natural light flowing through her home.
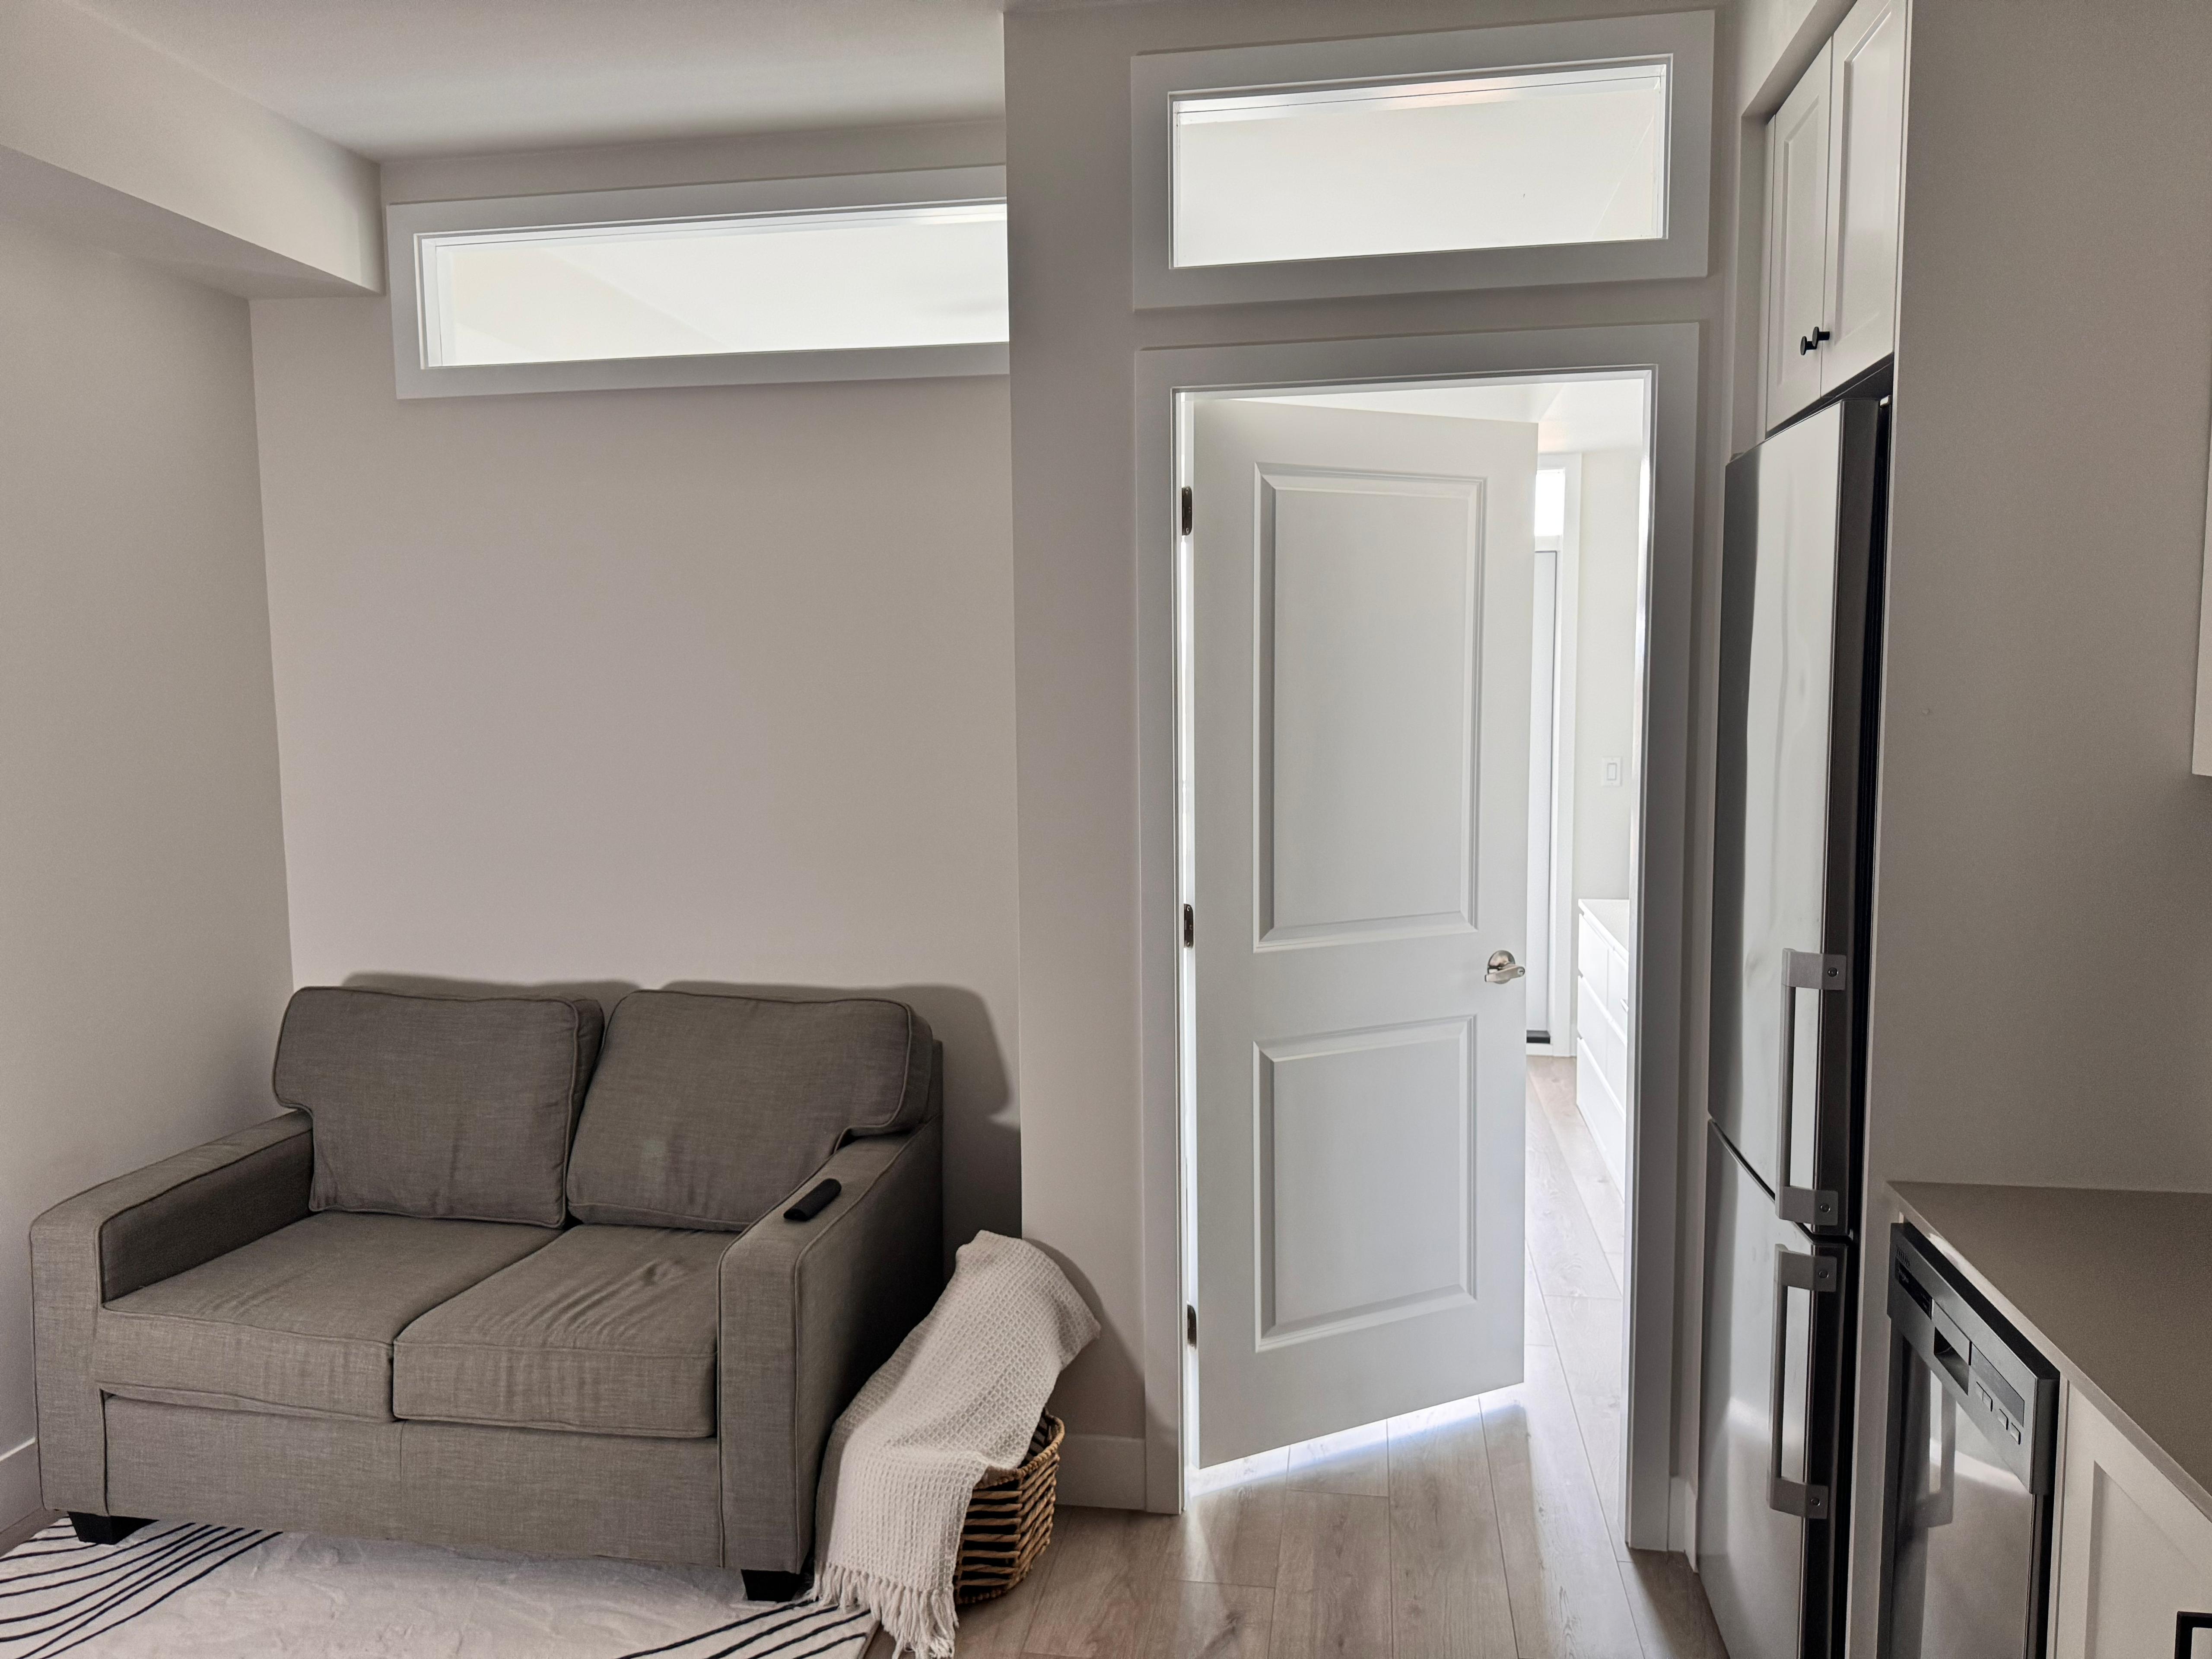
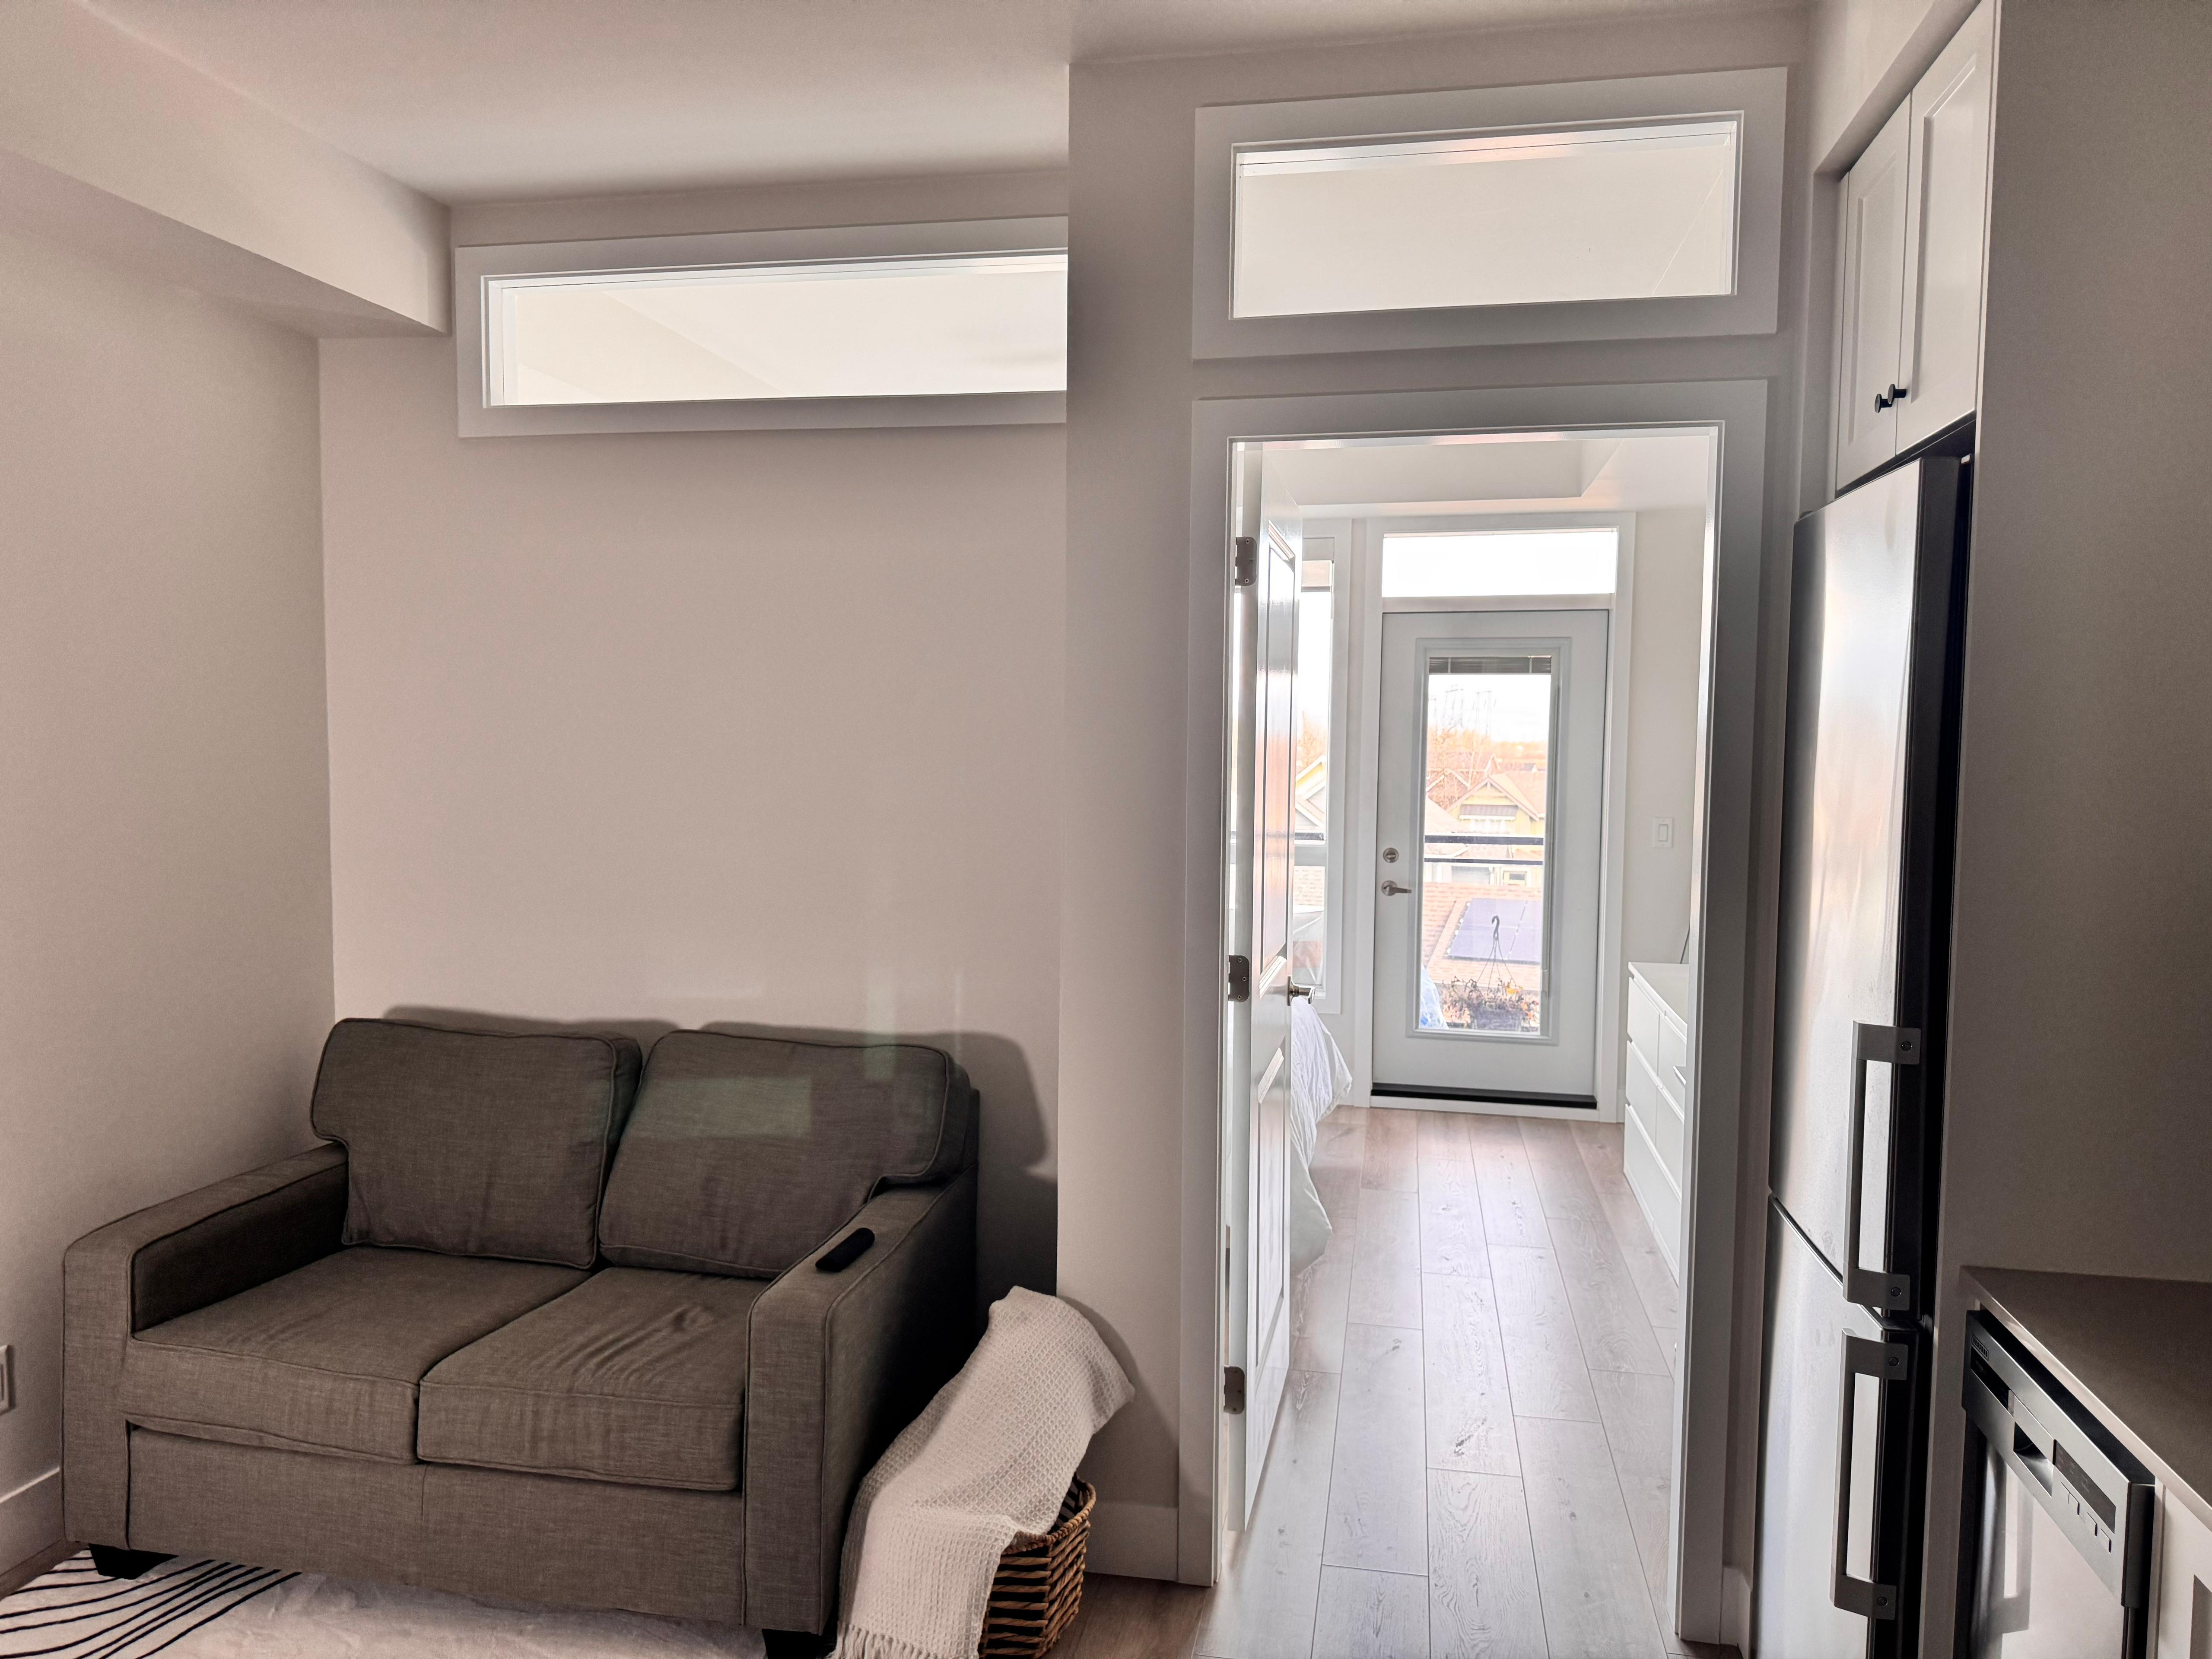
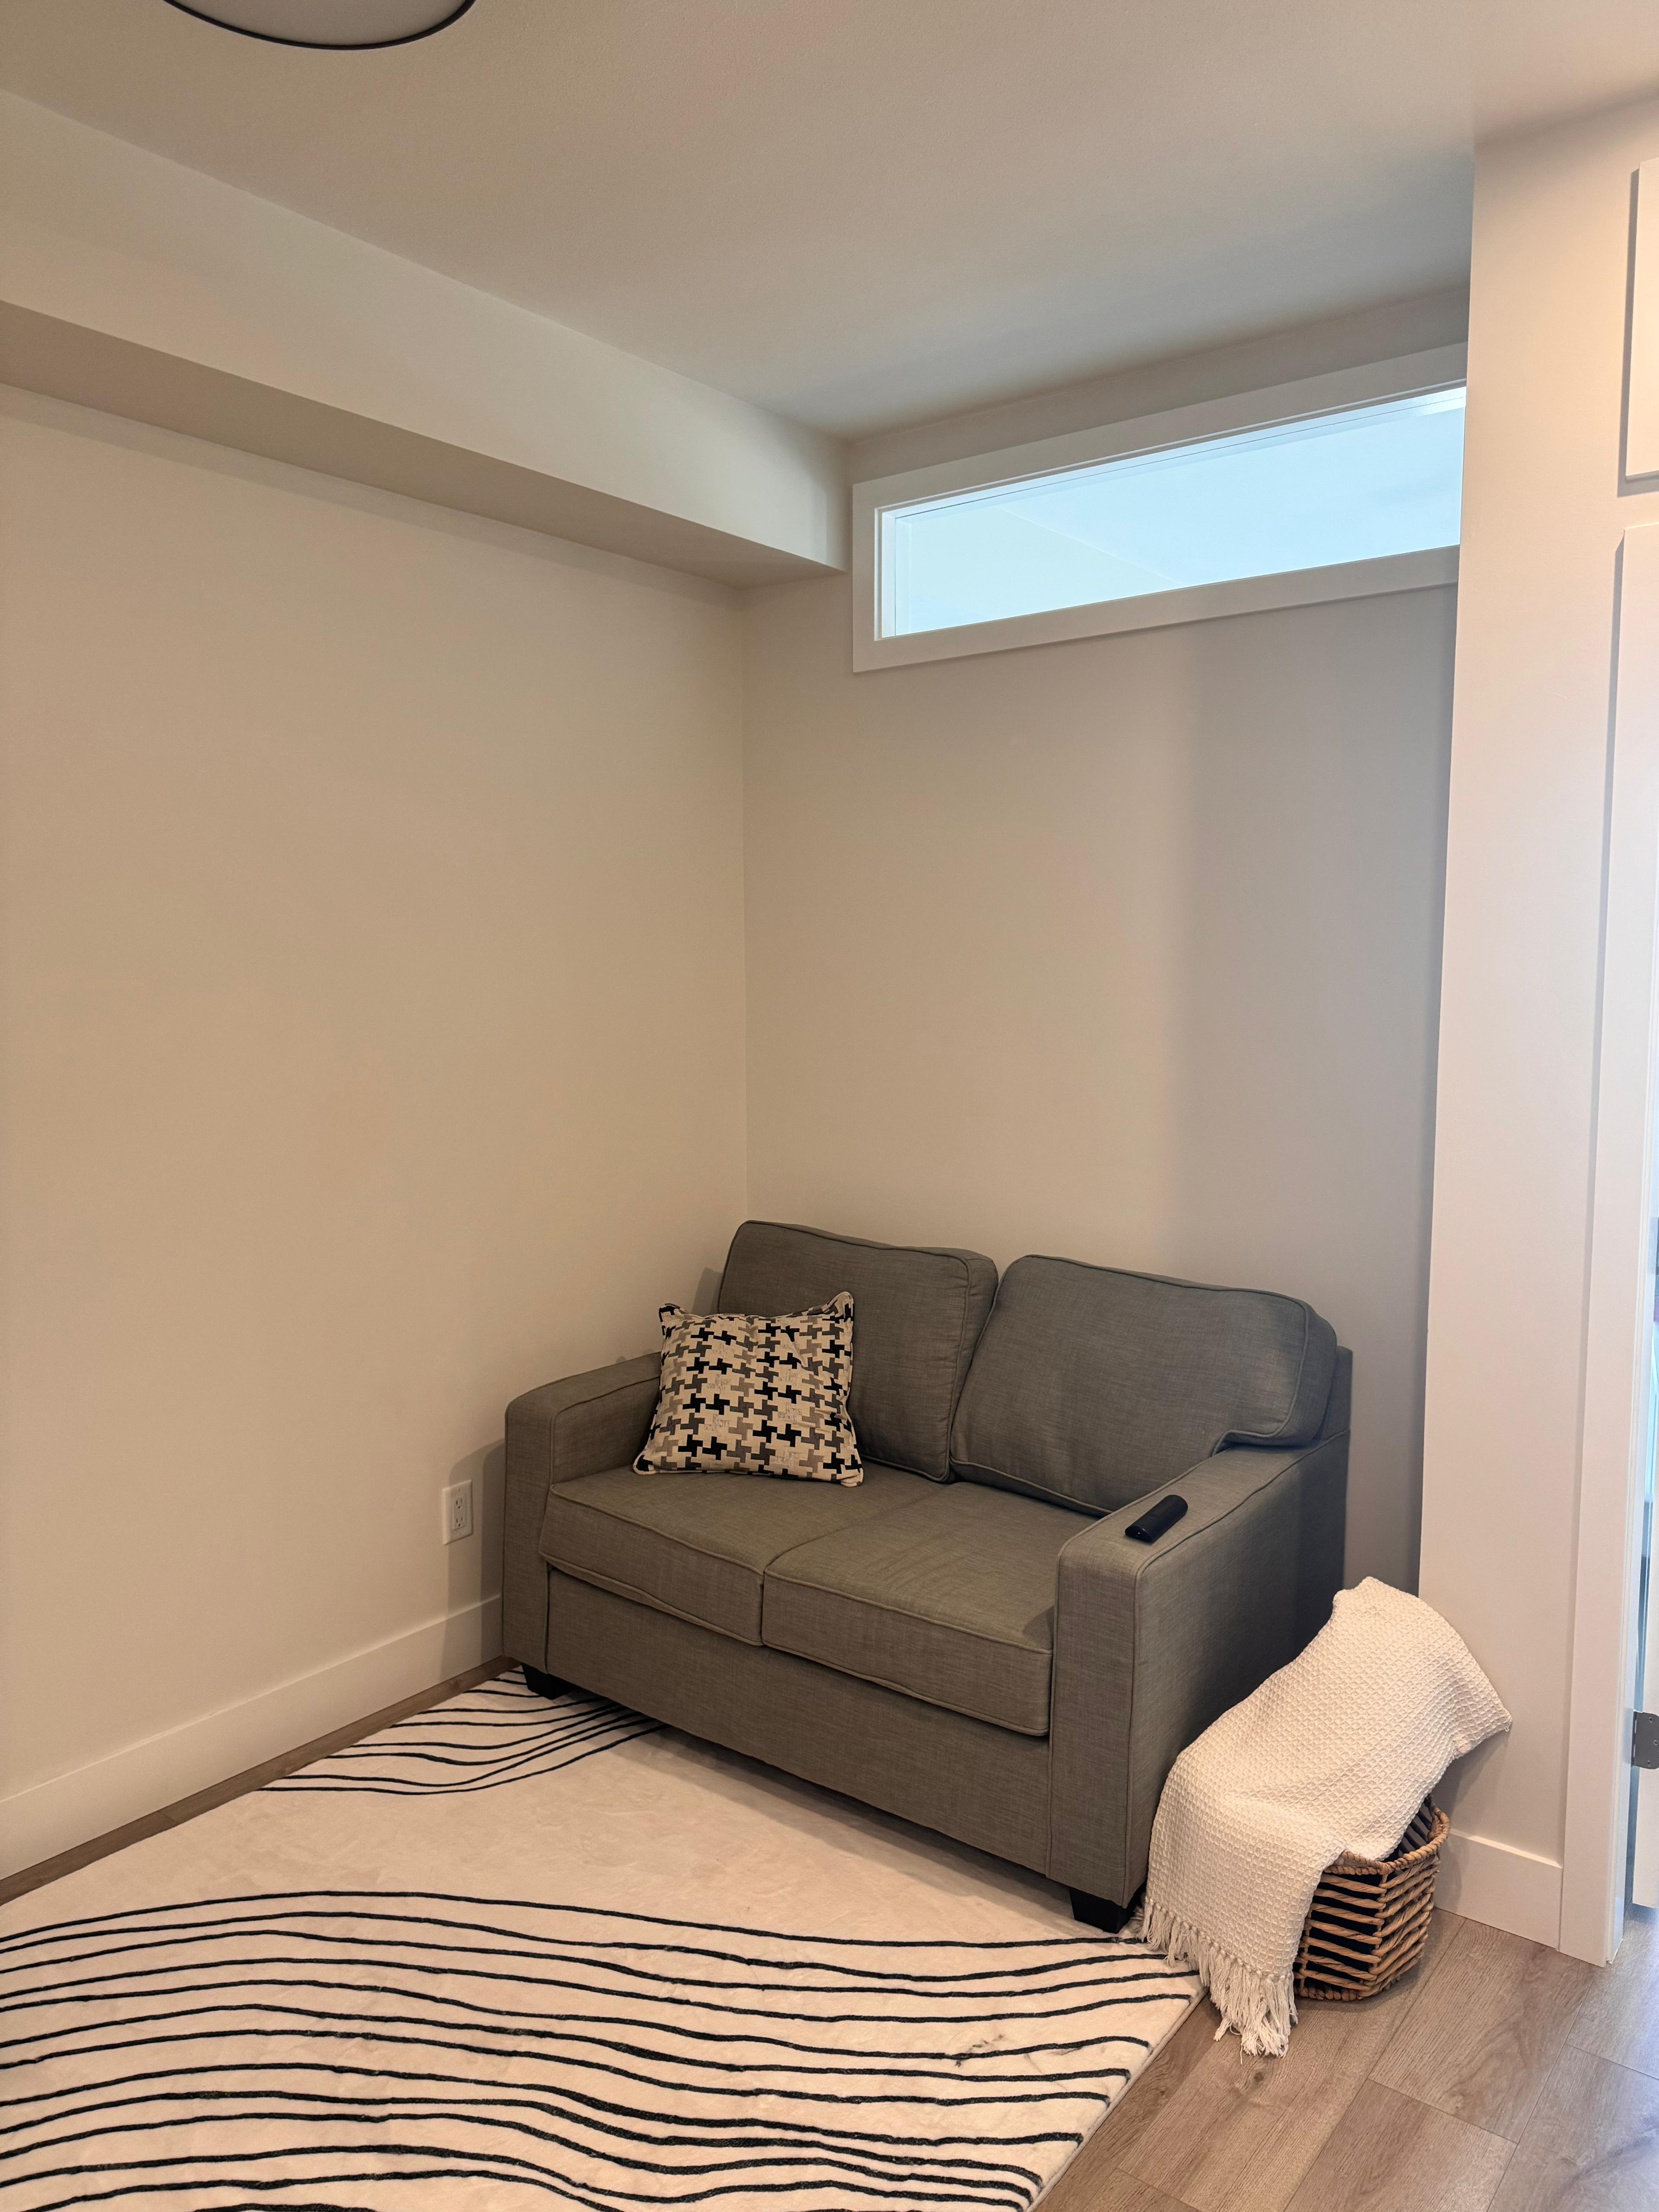
The solution combined glass panels at the top of the wall with a change to the wall’s shape: a recess that made room for her sofa and gave more space to the living-room side.
01 · Understanding the idea
The Hardest Work Happened Before the Build
The construction itself was straightforward. Planning took the most care. The customer had a clear picture in her mind, and I understood what she wanted—but finding a way to show that understanding was harder than simply saying so.
Cost was also an obstacle. I drew several sketches so we could look at the possibilities together, discuss the door options, and develop a practical design that addressed her concerns.
The First Idea
The initial concept was a straight wall through the studio. This first sketch shows the customer’s double-door idea, which would have made the door portion more expensive.
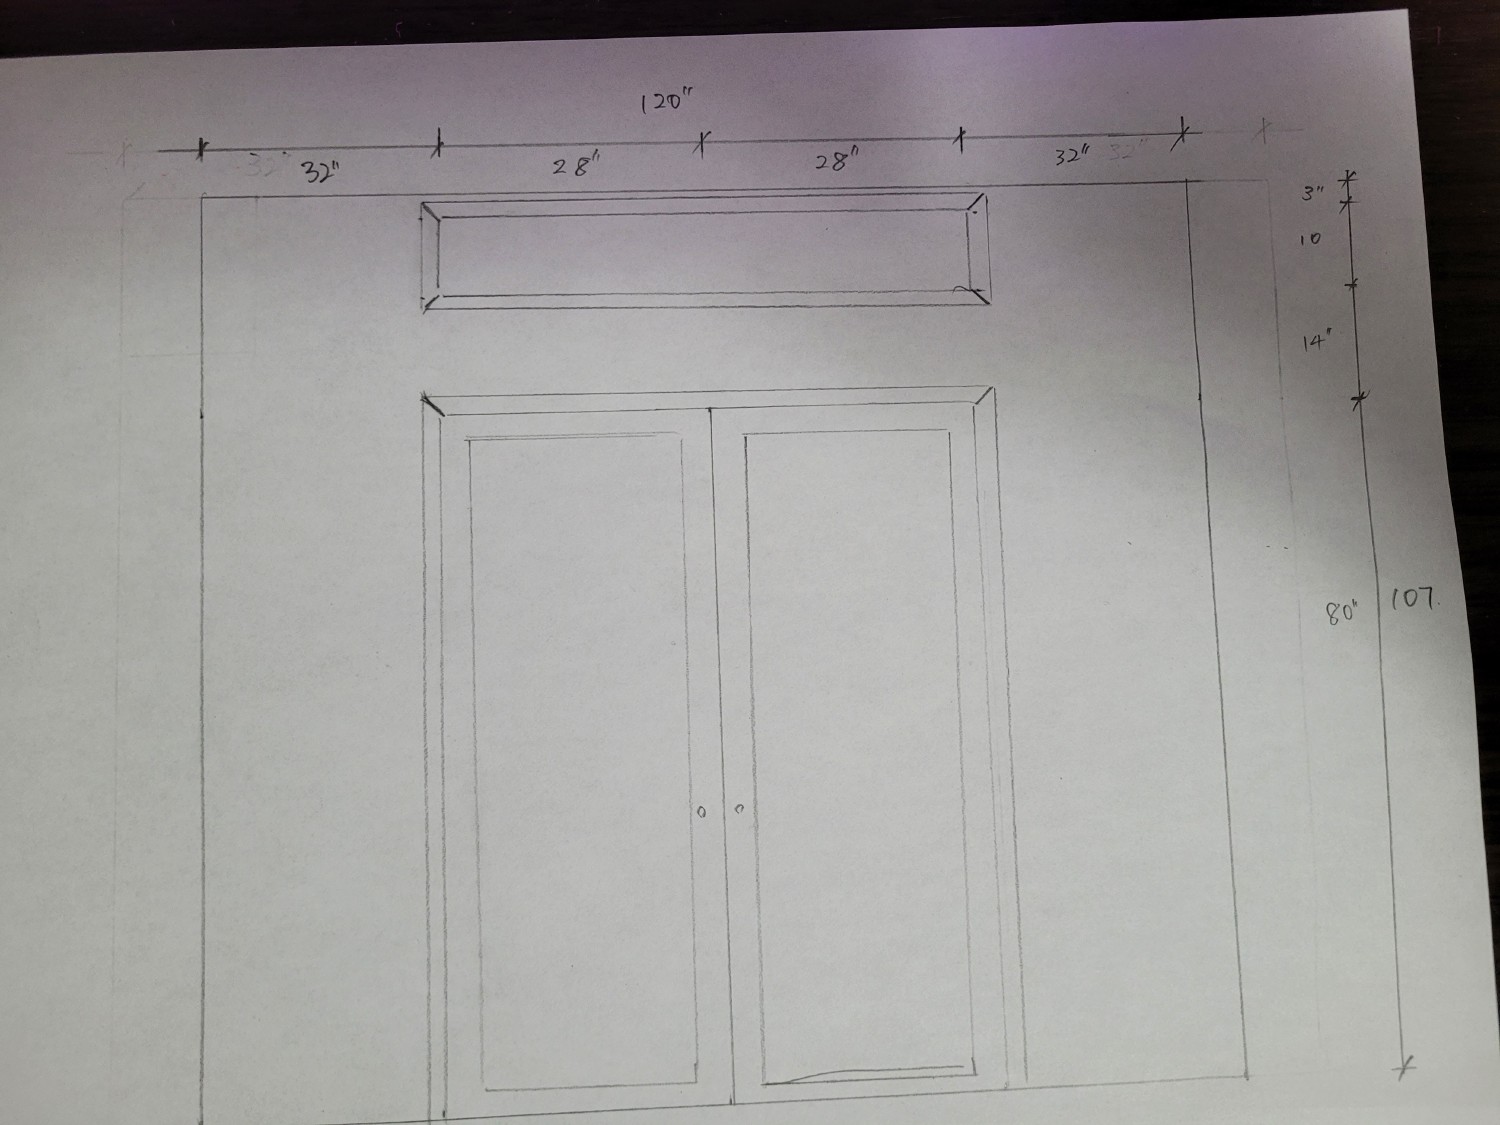
First concept: the customer’s double-door idea with glass above. Click to open the original PDF. Exploring an Alternative
I introduced another idea to help work through the cost concern. This sketch explores a pocket door and glass above the wall and doorway. It was a discussion option, before we arrived at the final design.
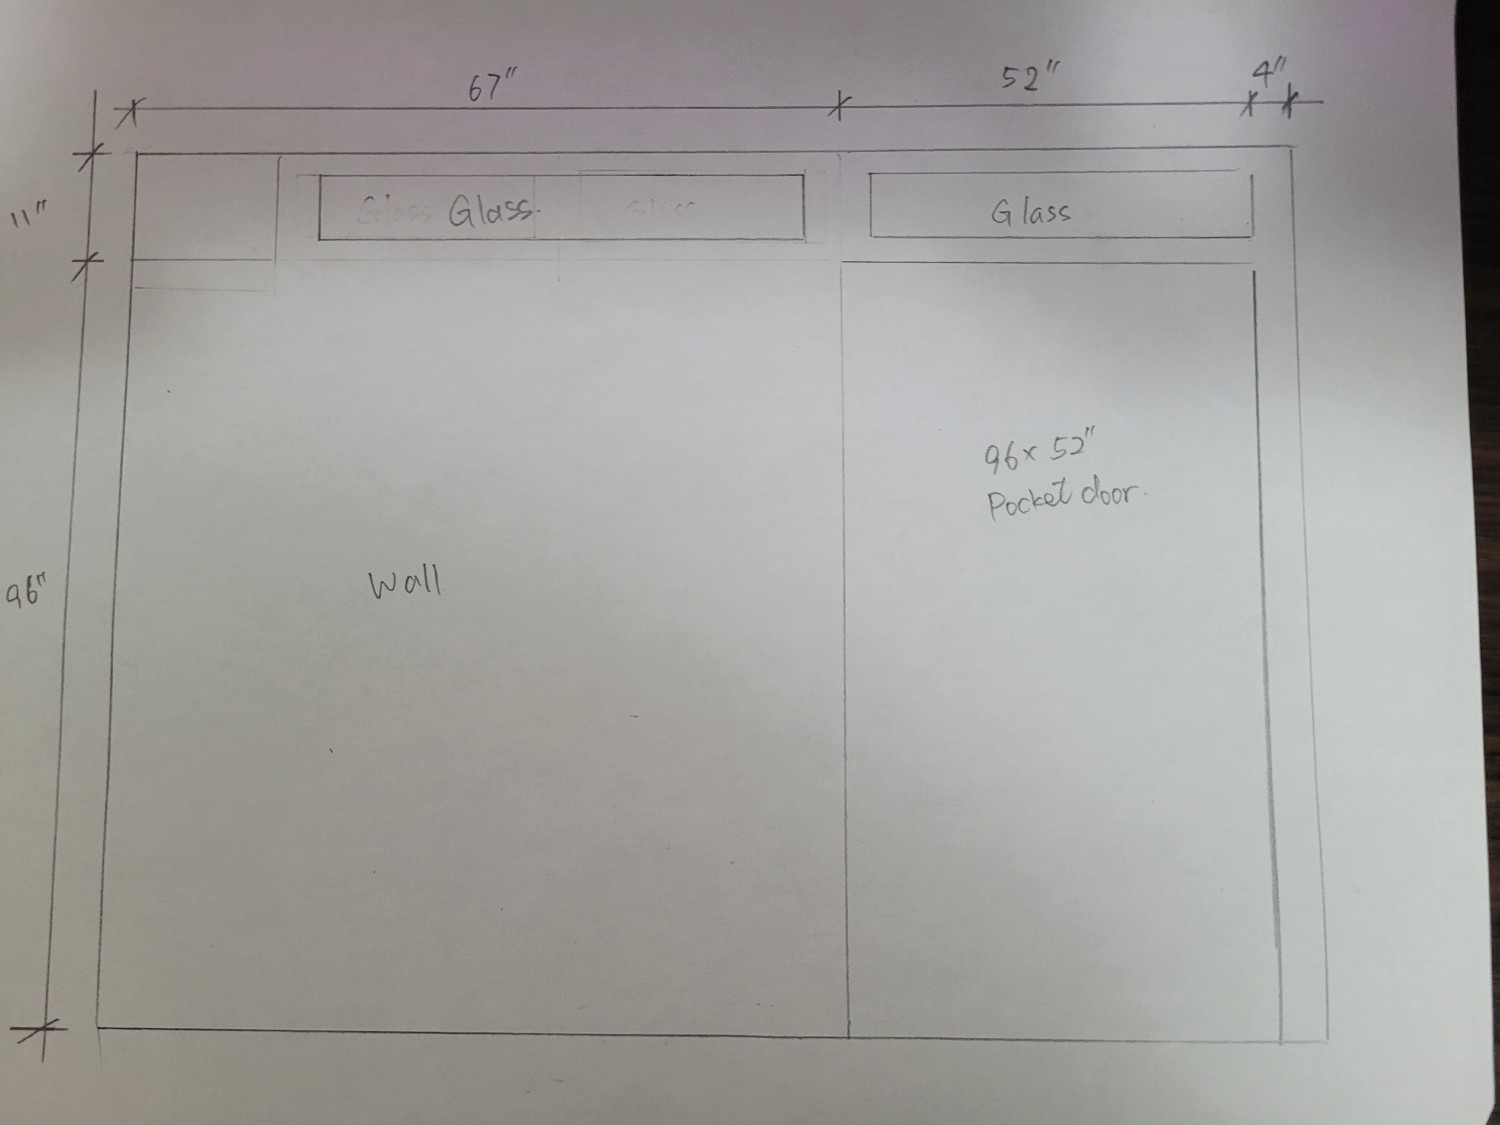
Alternative concept: a pocket door with high-level glass panels. Click to open the original PDF. The Final Plan
The final layout uses a hinged door and a wall with corners rather than one straight line. The floor plan shows the recess for the sofa; the side view shows the relationship between the wall, door, and upper glass.
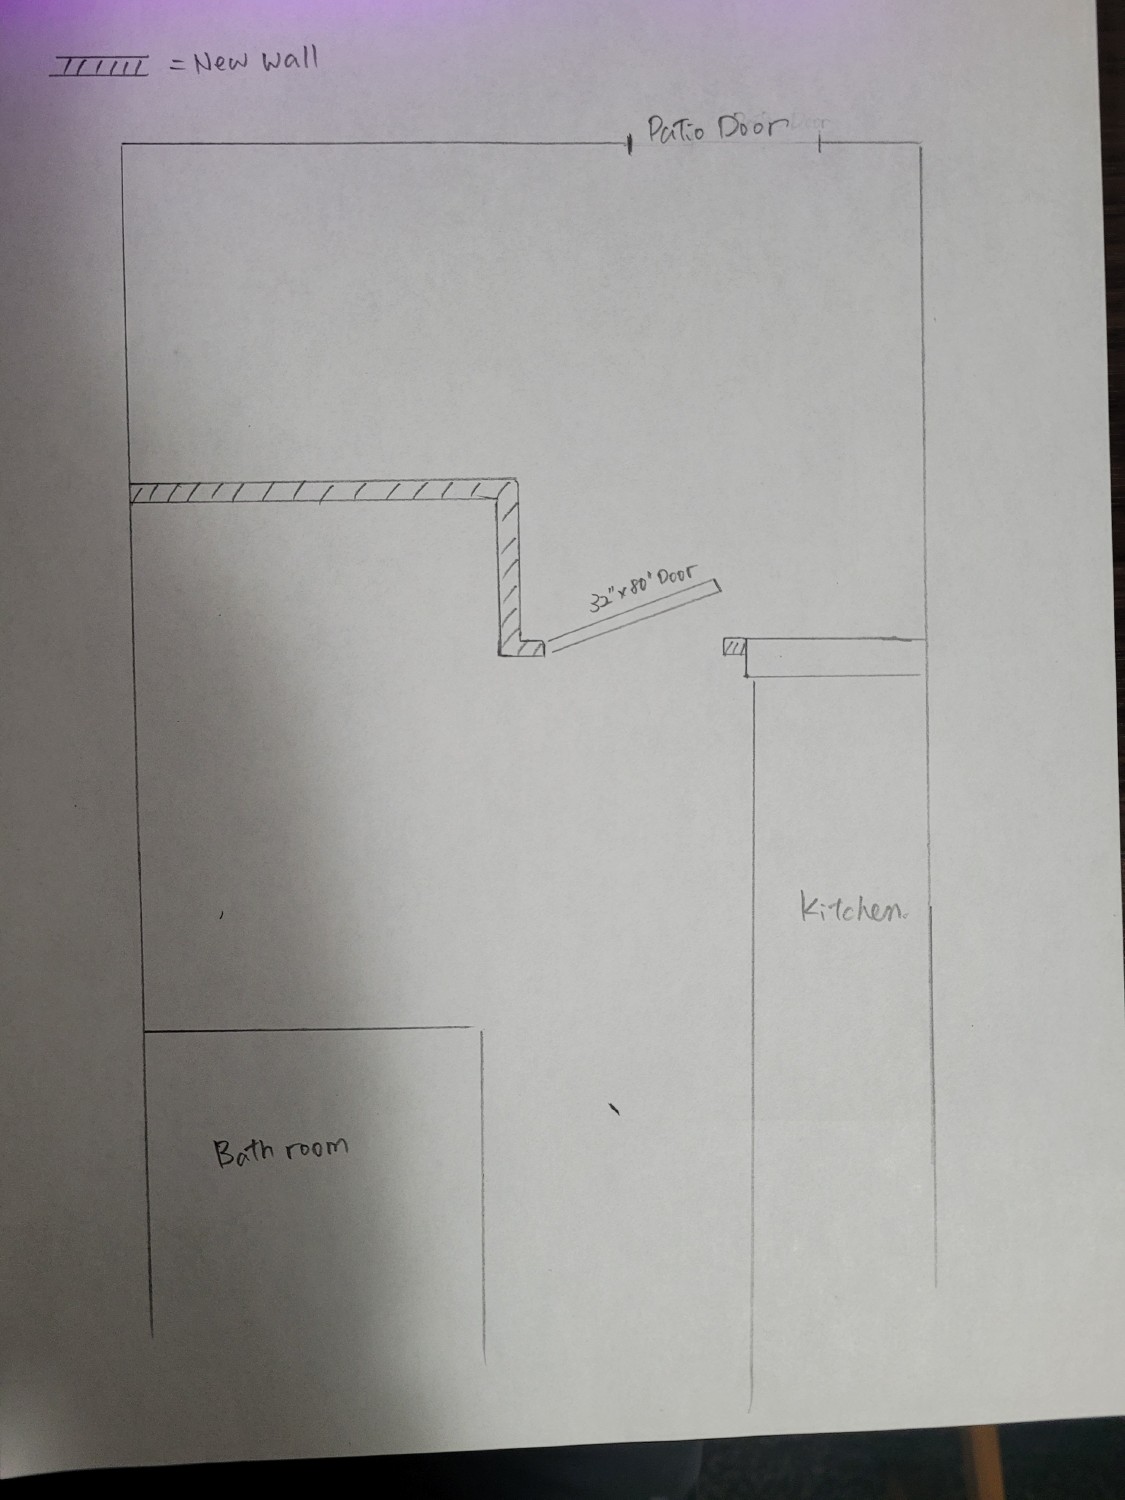
Final floor plan: the wall steps around a sofa recess beside the kitchen. Click to open the original PDF. 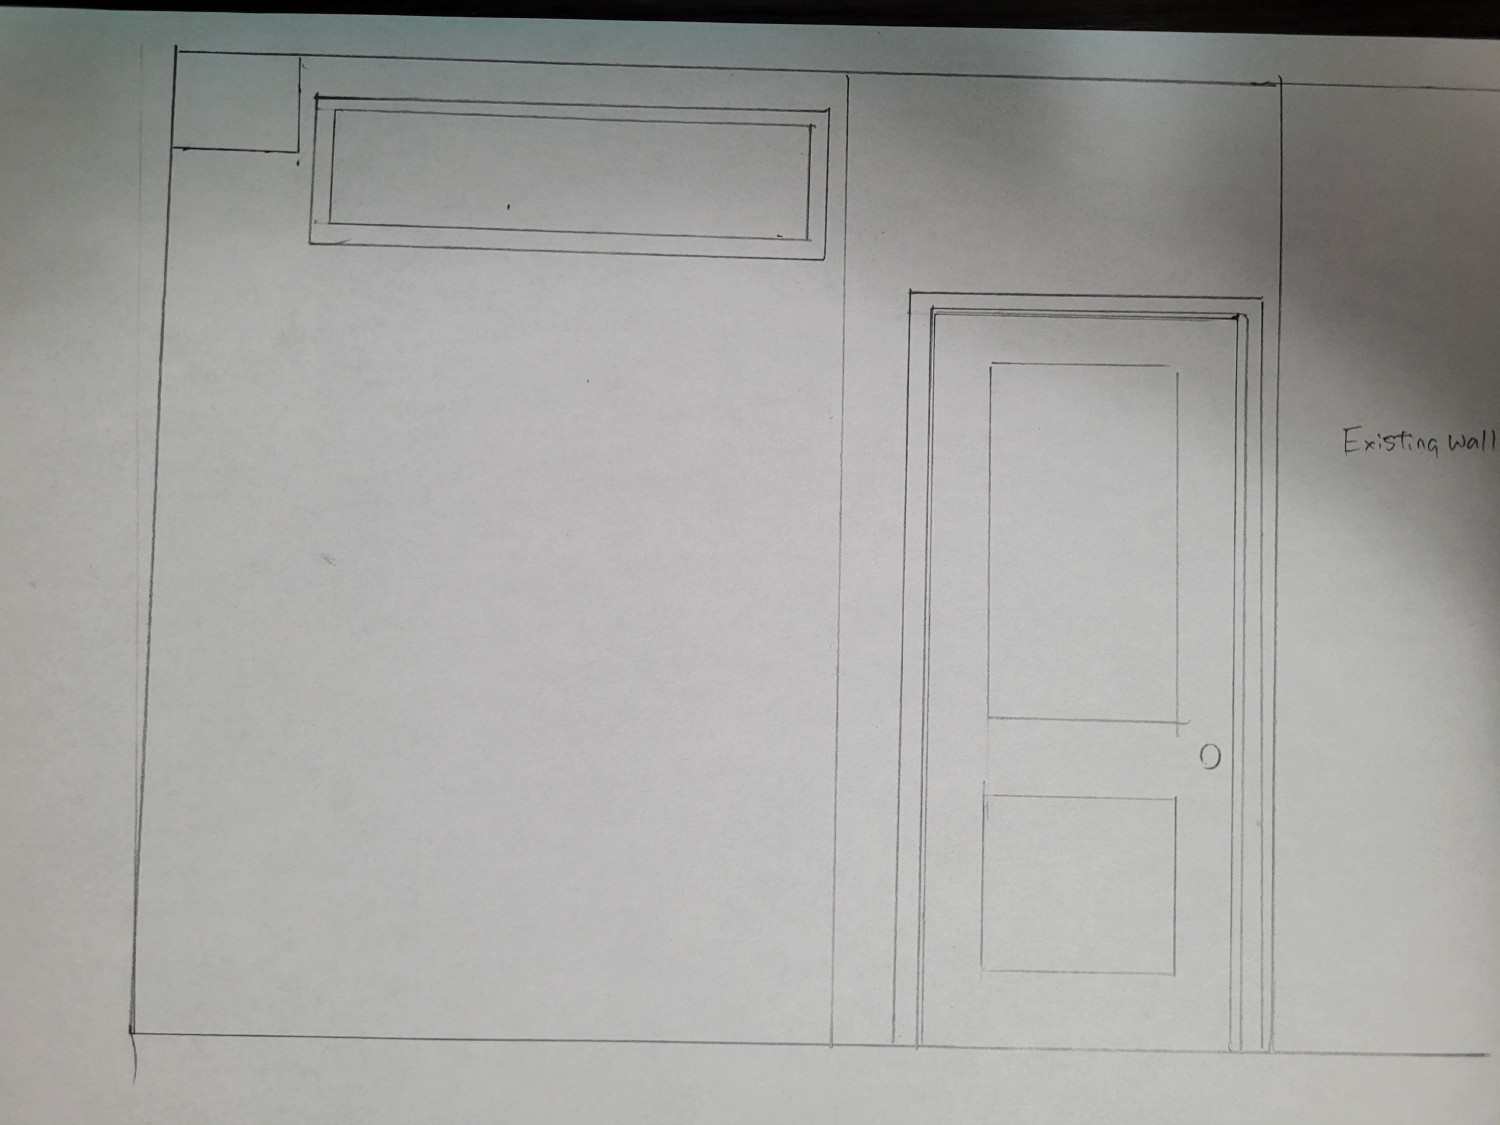
Final side view: the hinged door and glass above the wall. Click to open the original PDF.
02 · Making the layout work
A Few Corners Made Room for the Sofa
I changed the straight-wall idea by adding corners to form a recess on the living-room side. That gave the sofa its own space and made the living area bigger while still creating a separate bedroom.
In a studio condo, the position of a wall affects how the furniture fits and how the home feels. Planning around the customer’s sofa made the new layout useful in everyday life.
03 · Keeping the natural light
Glass Above, Carefully Finished All Around
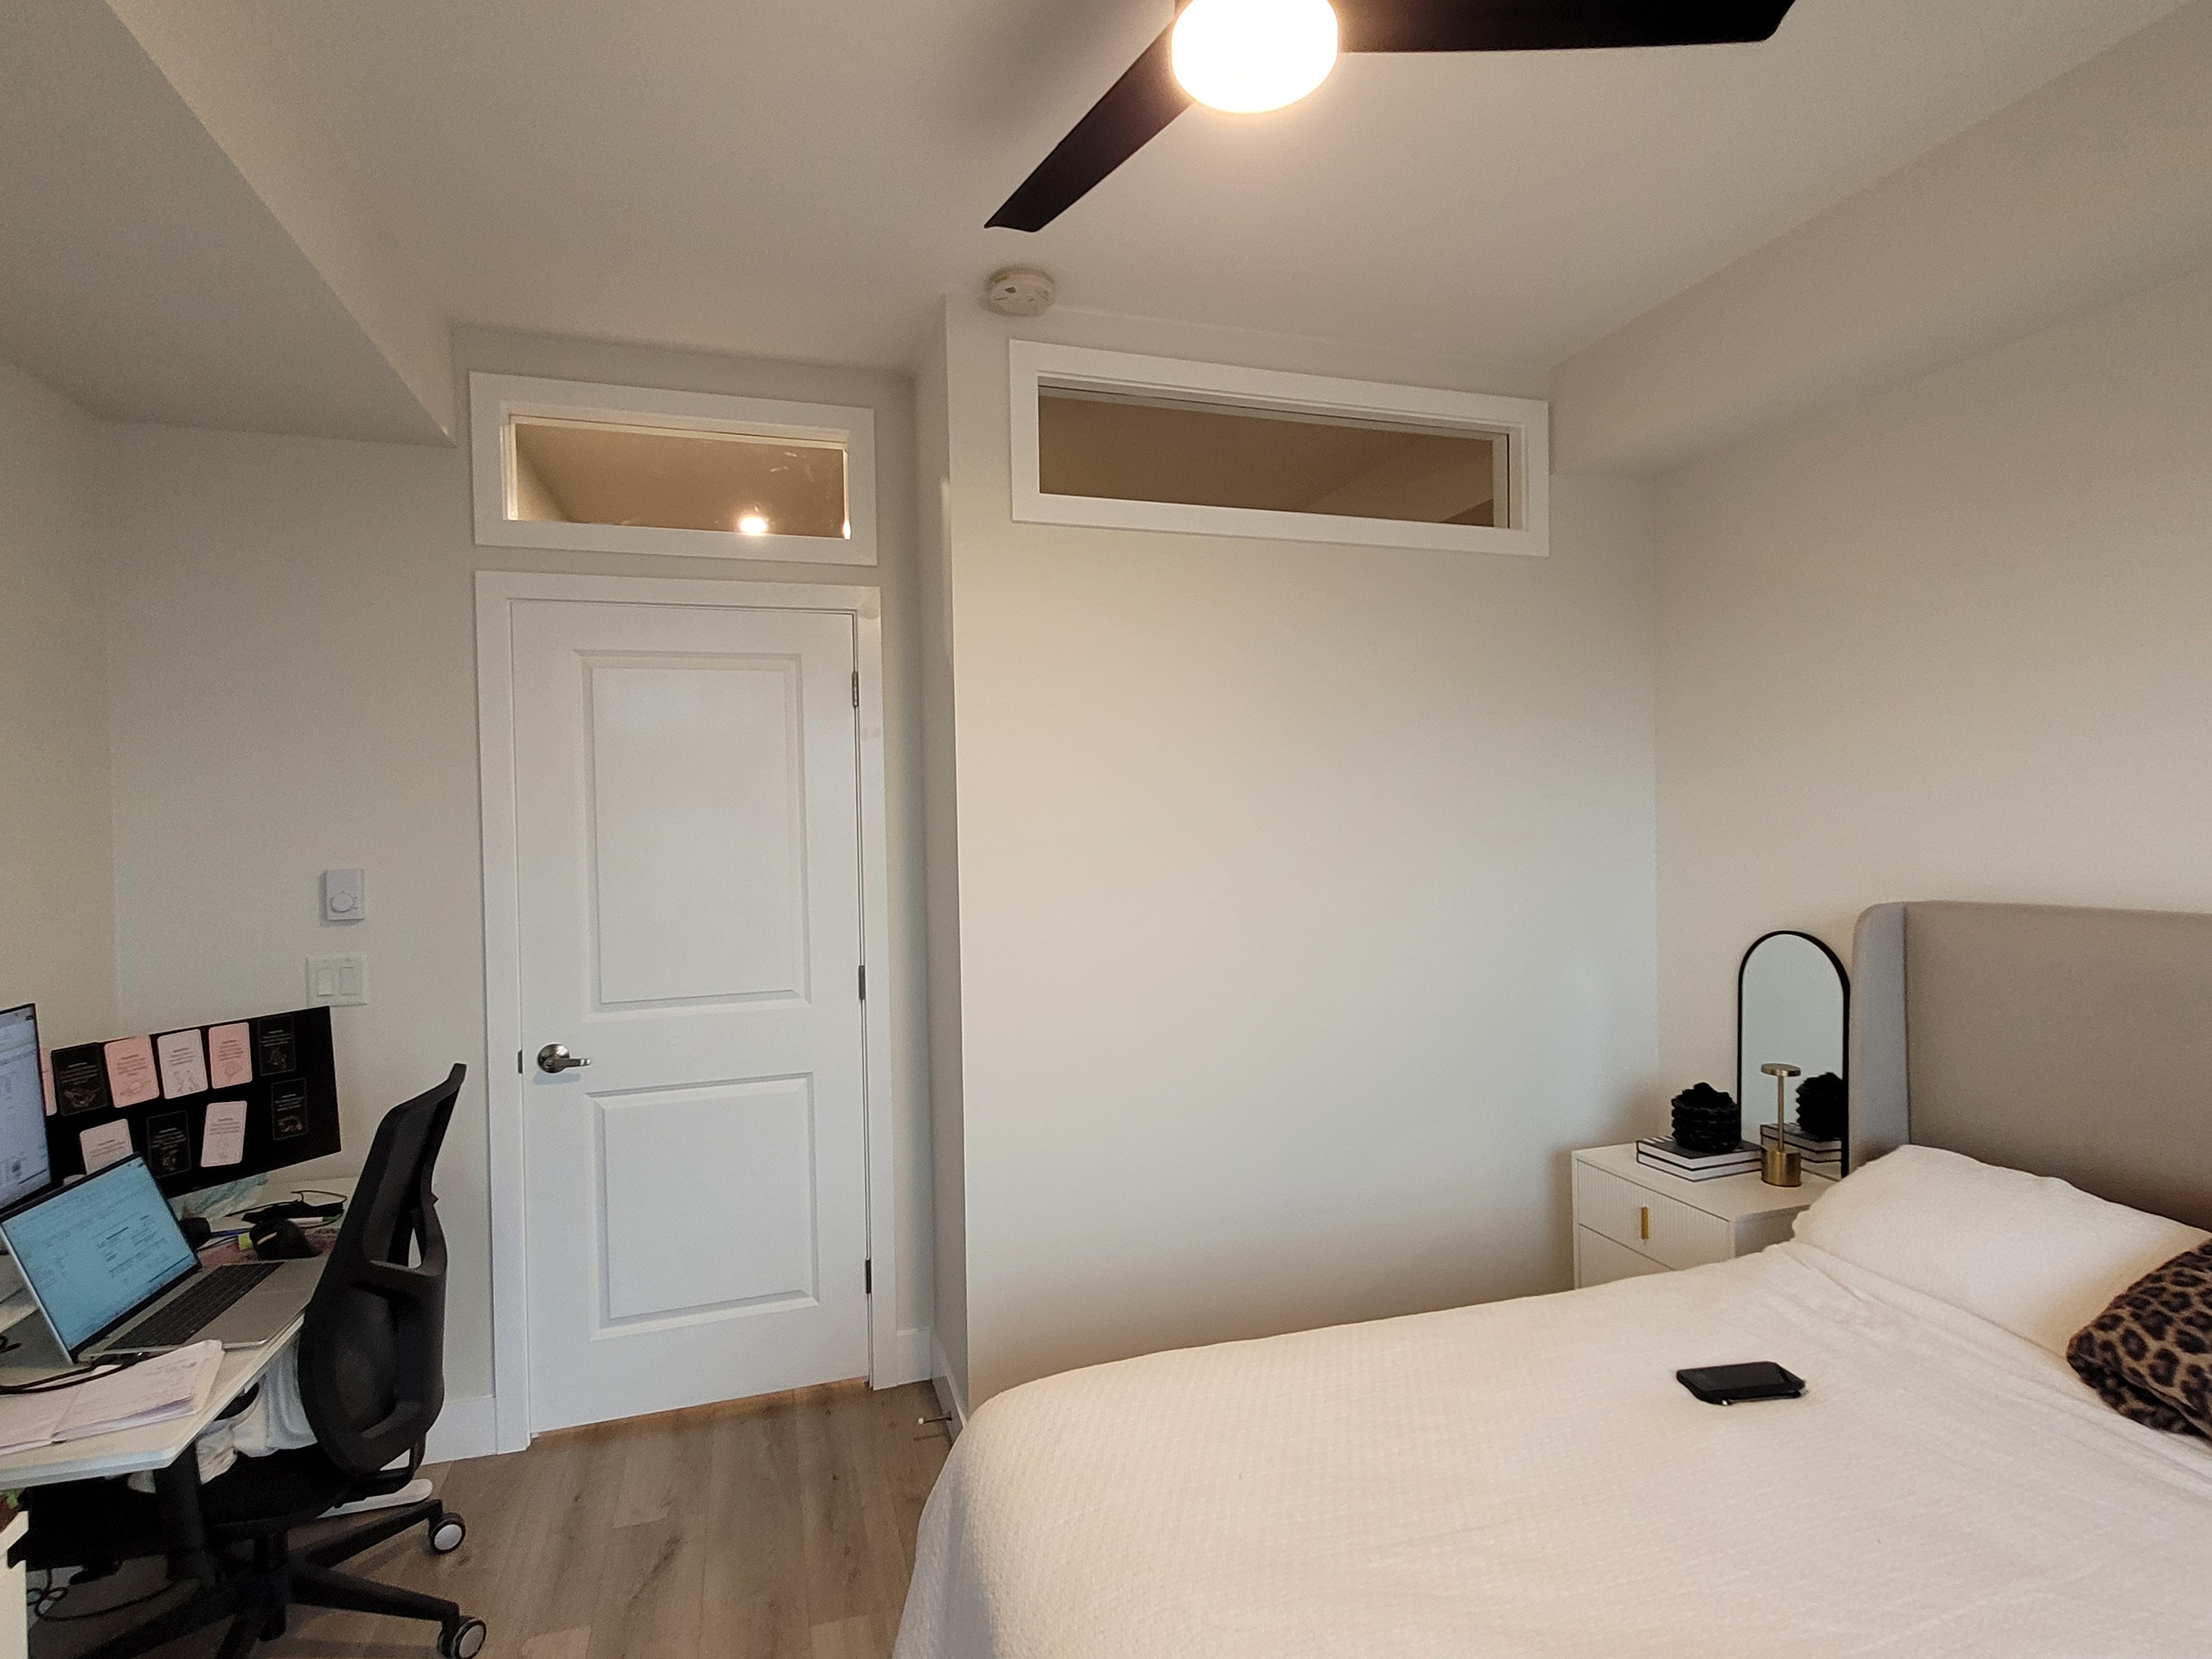
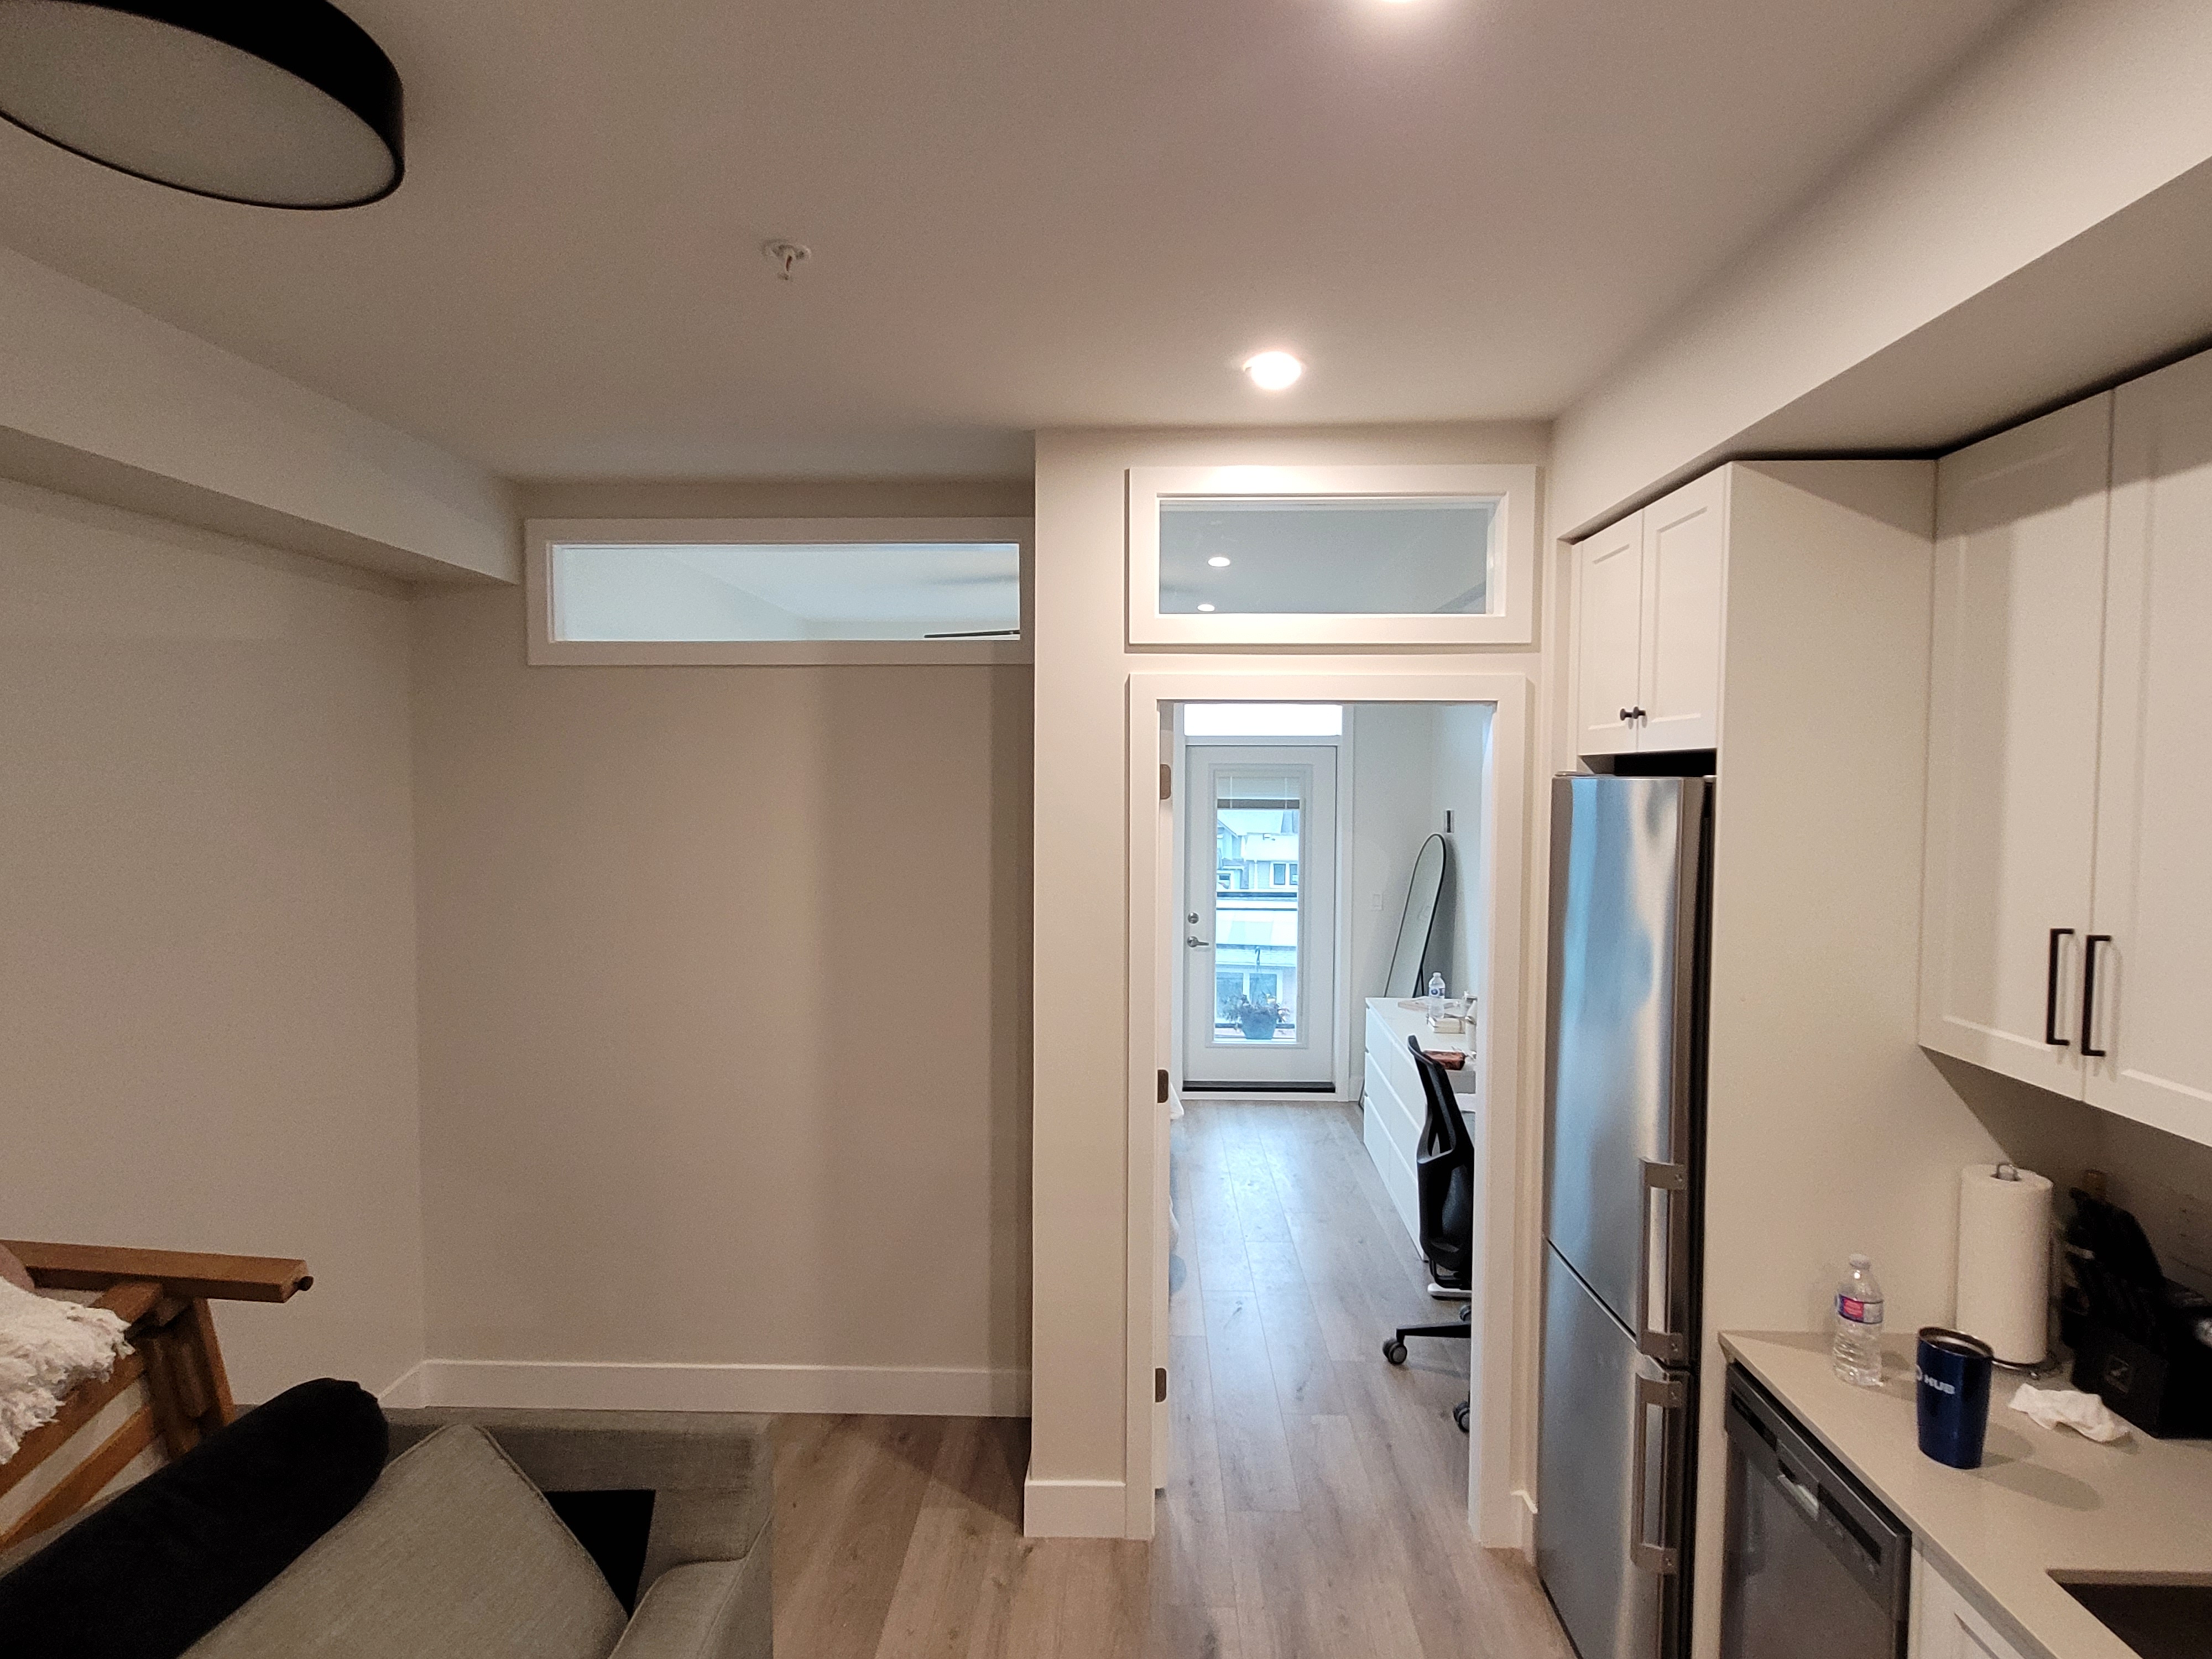
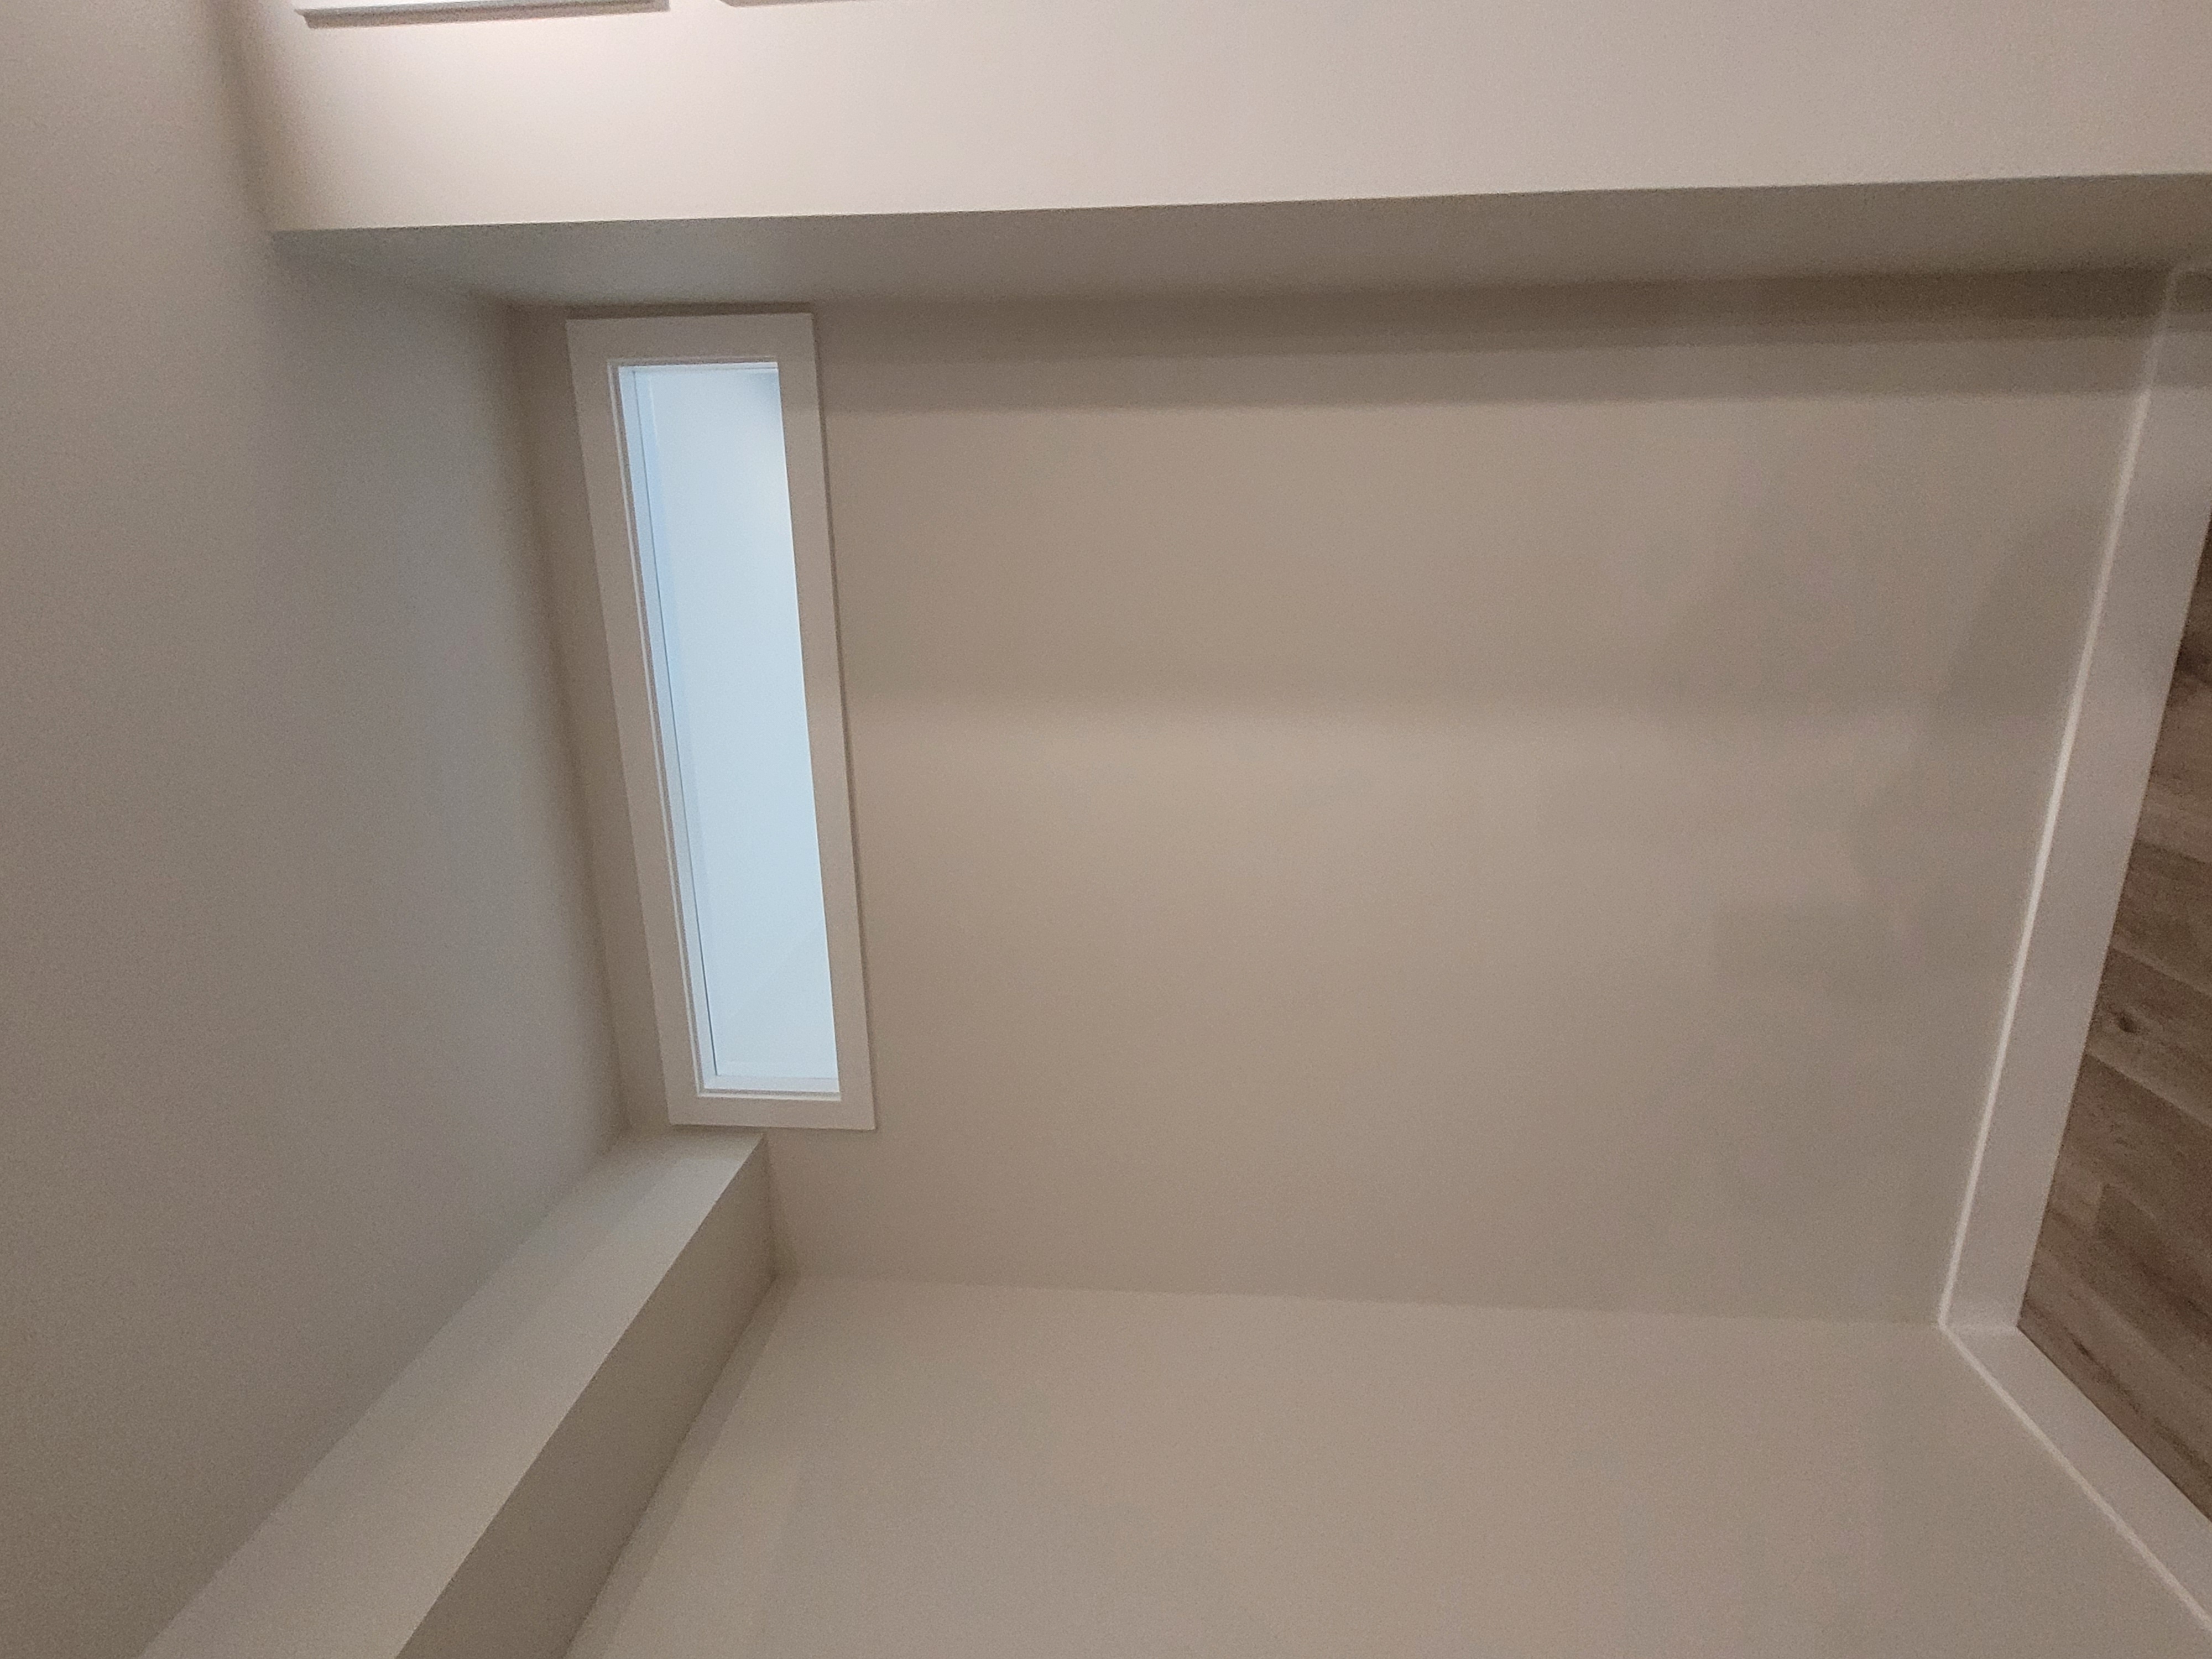
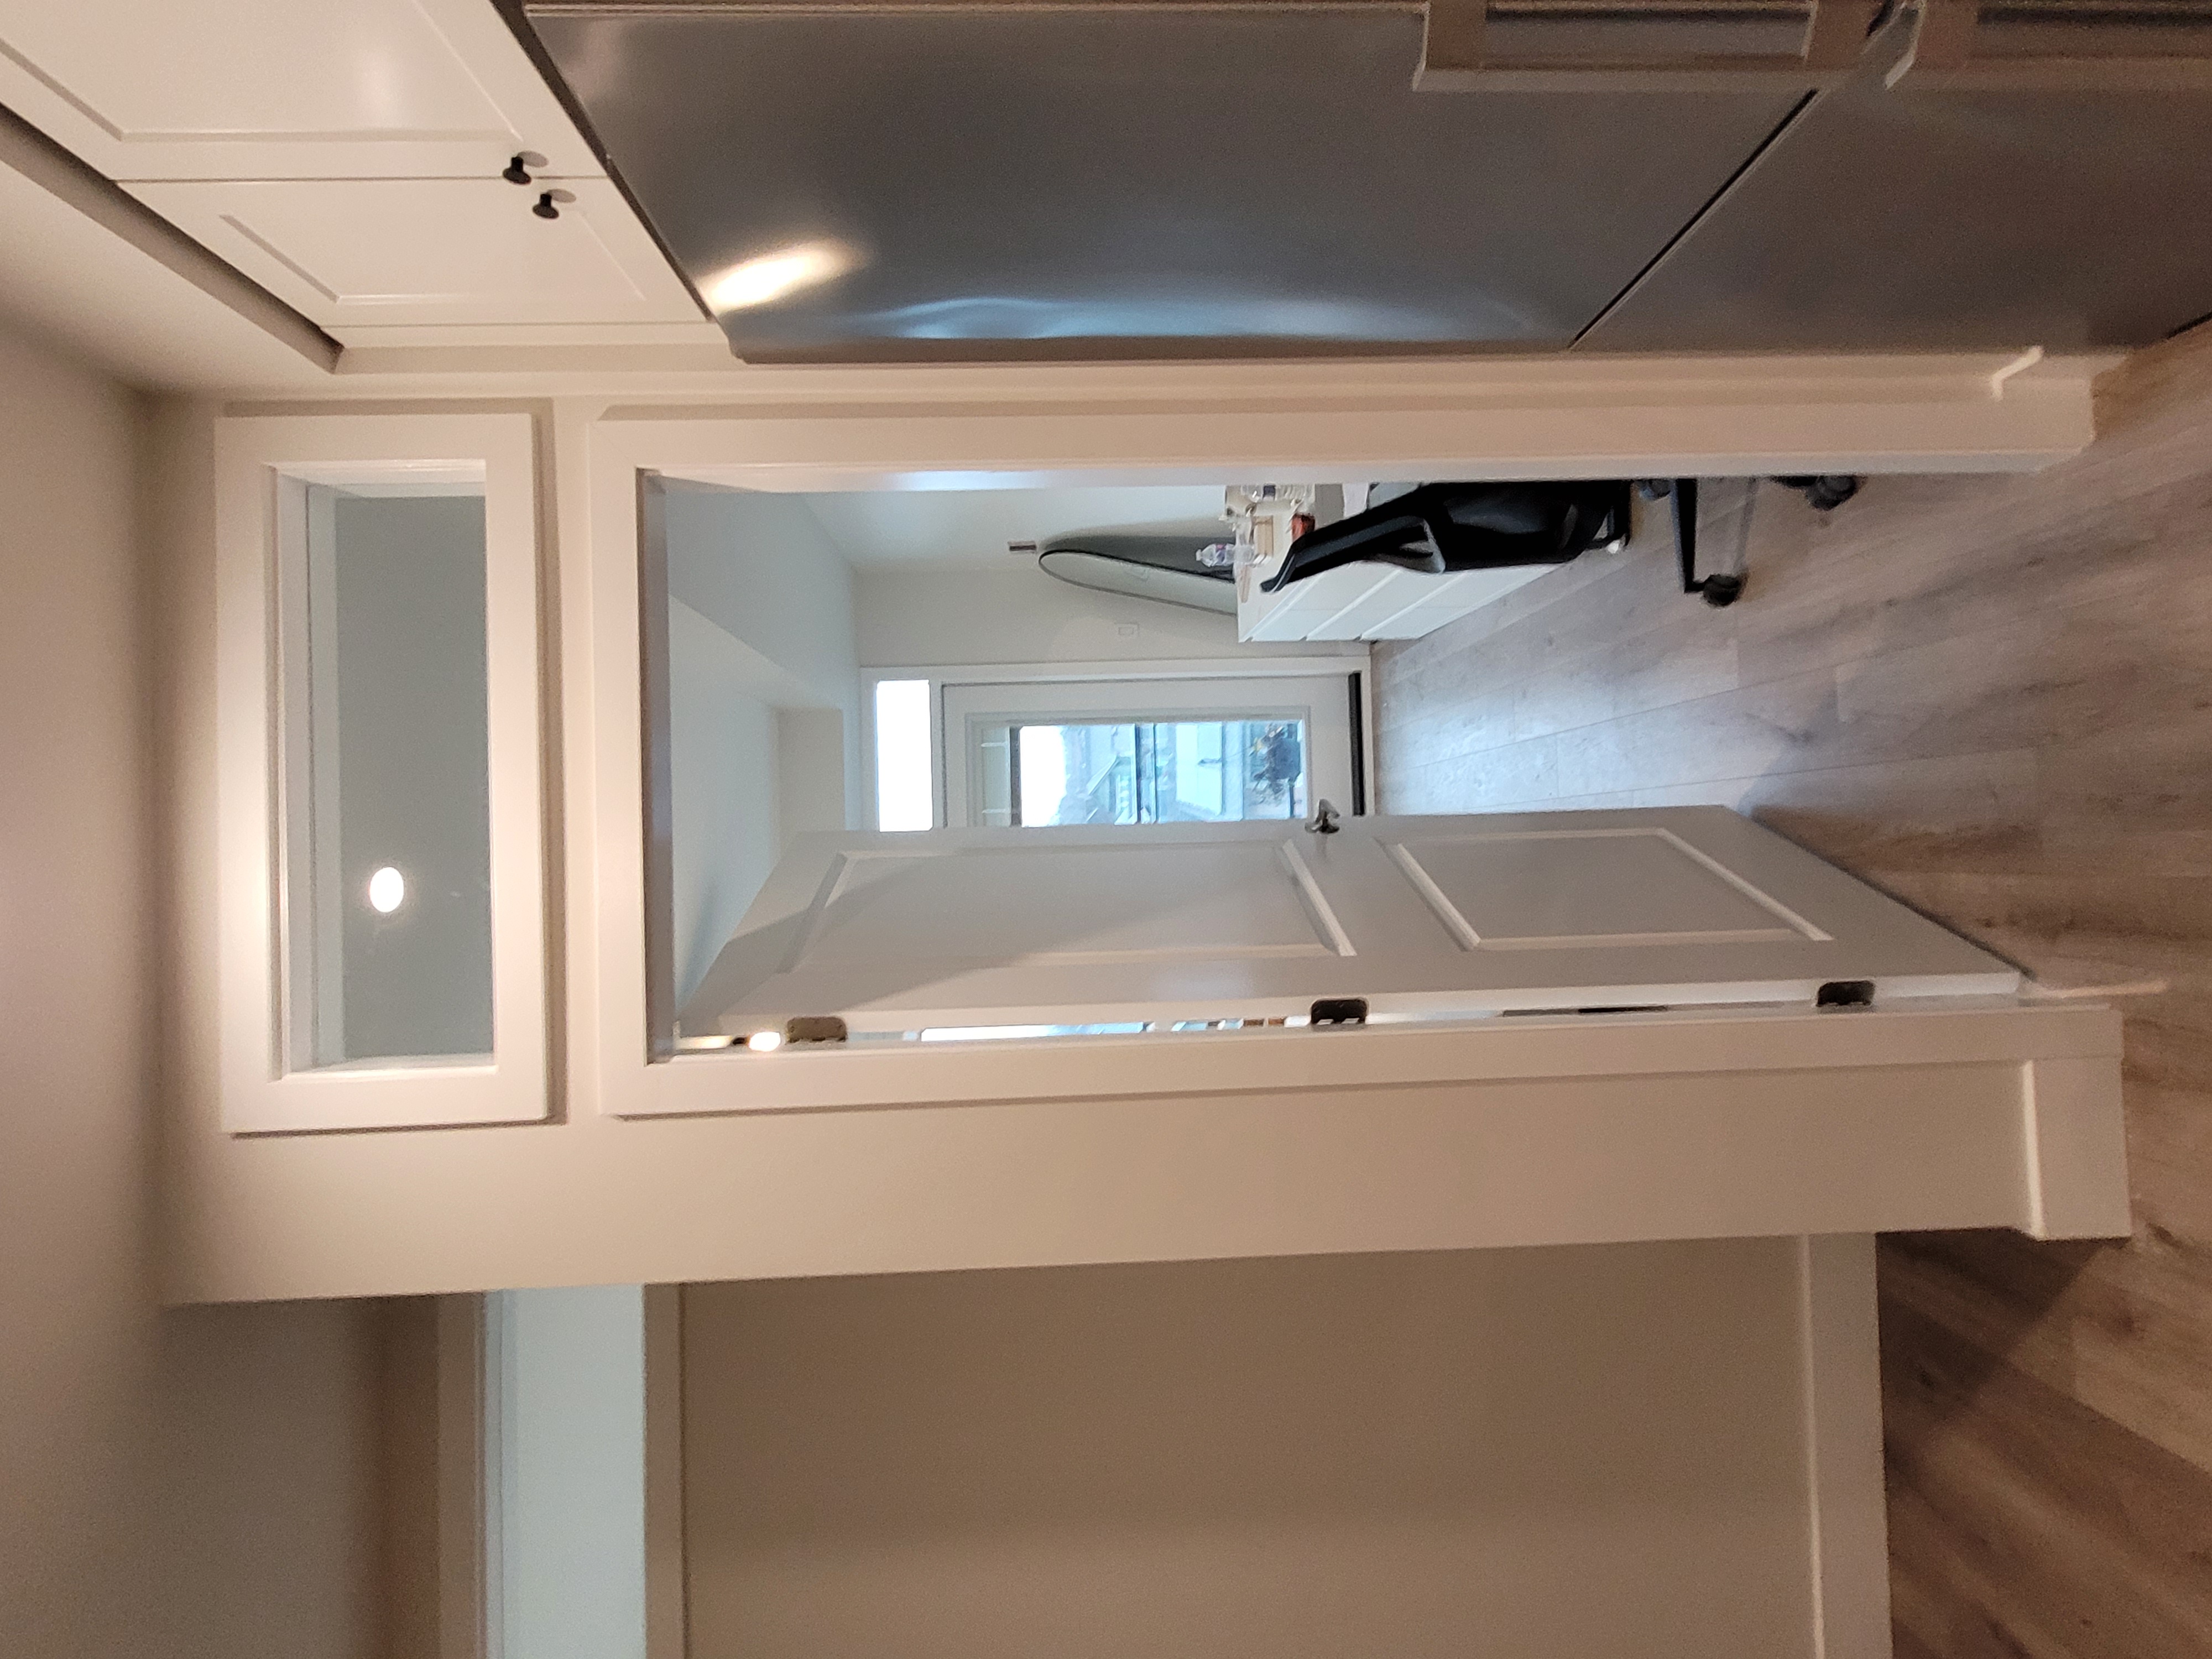
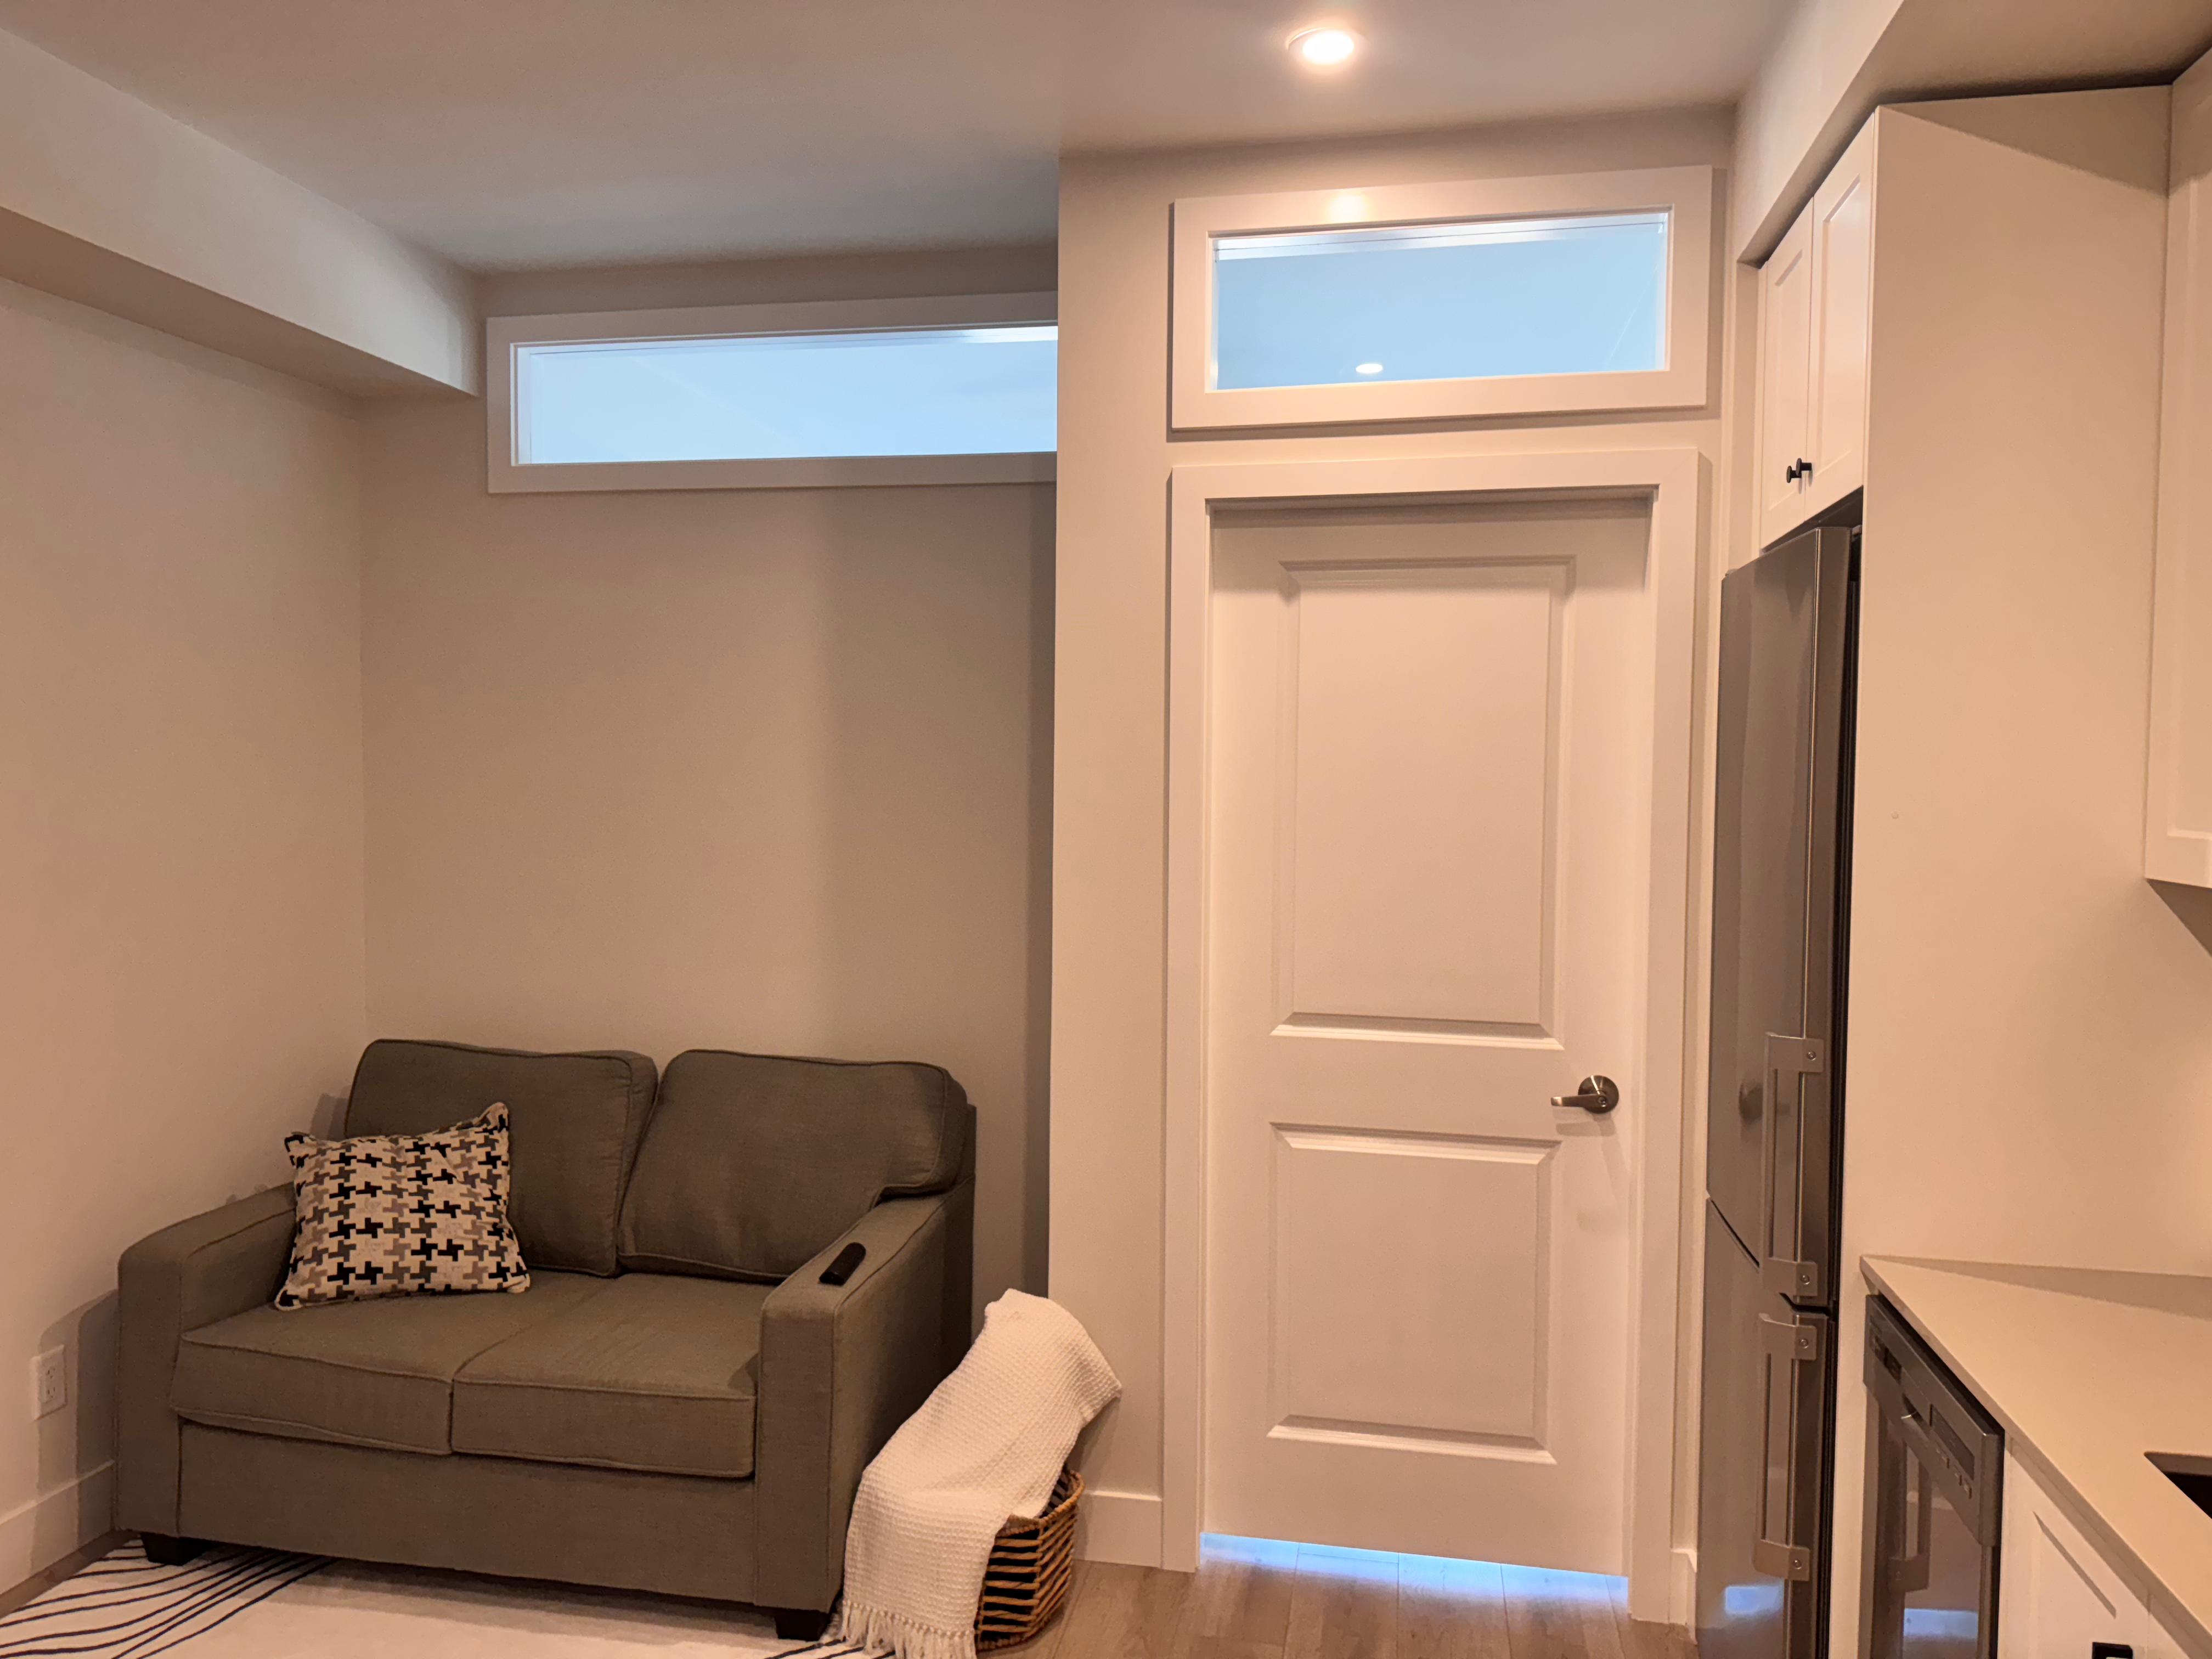
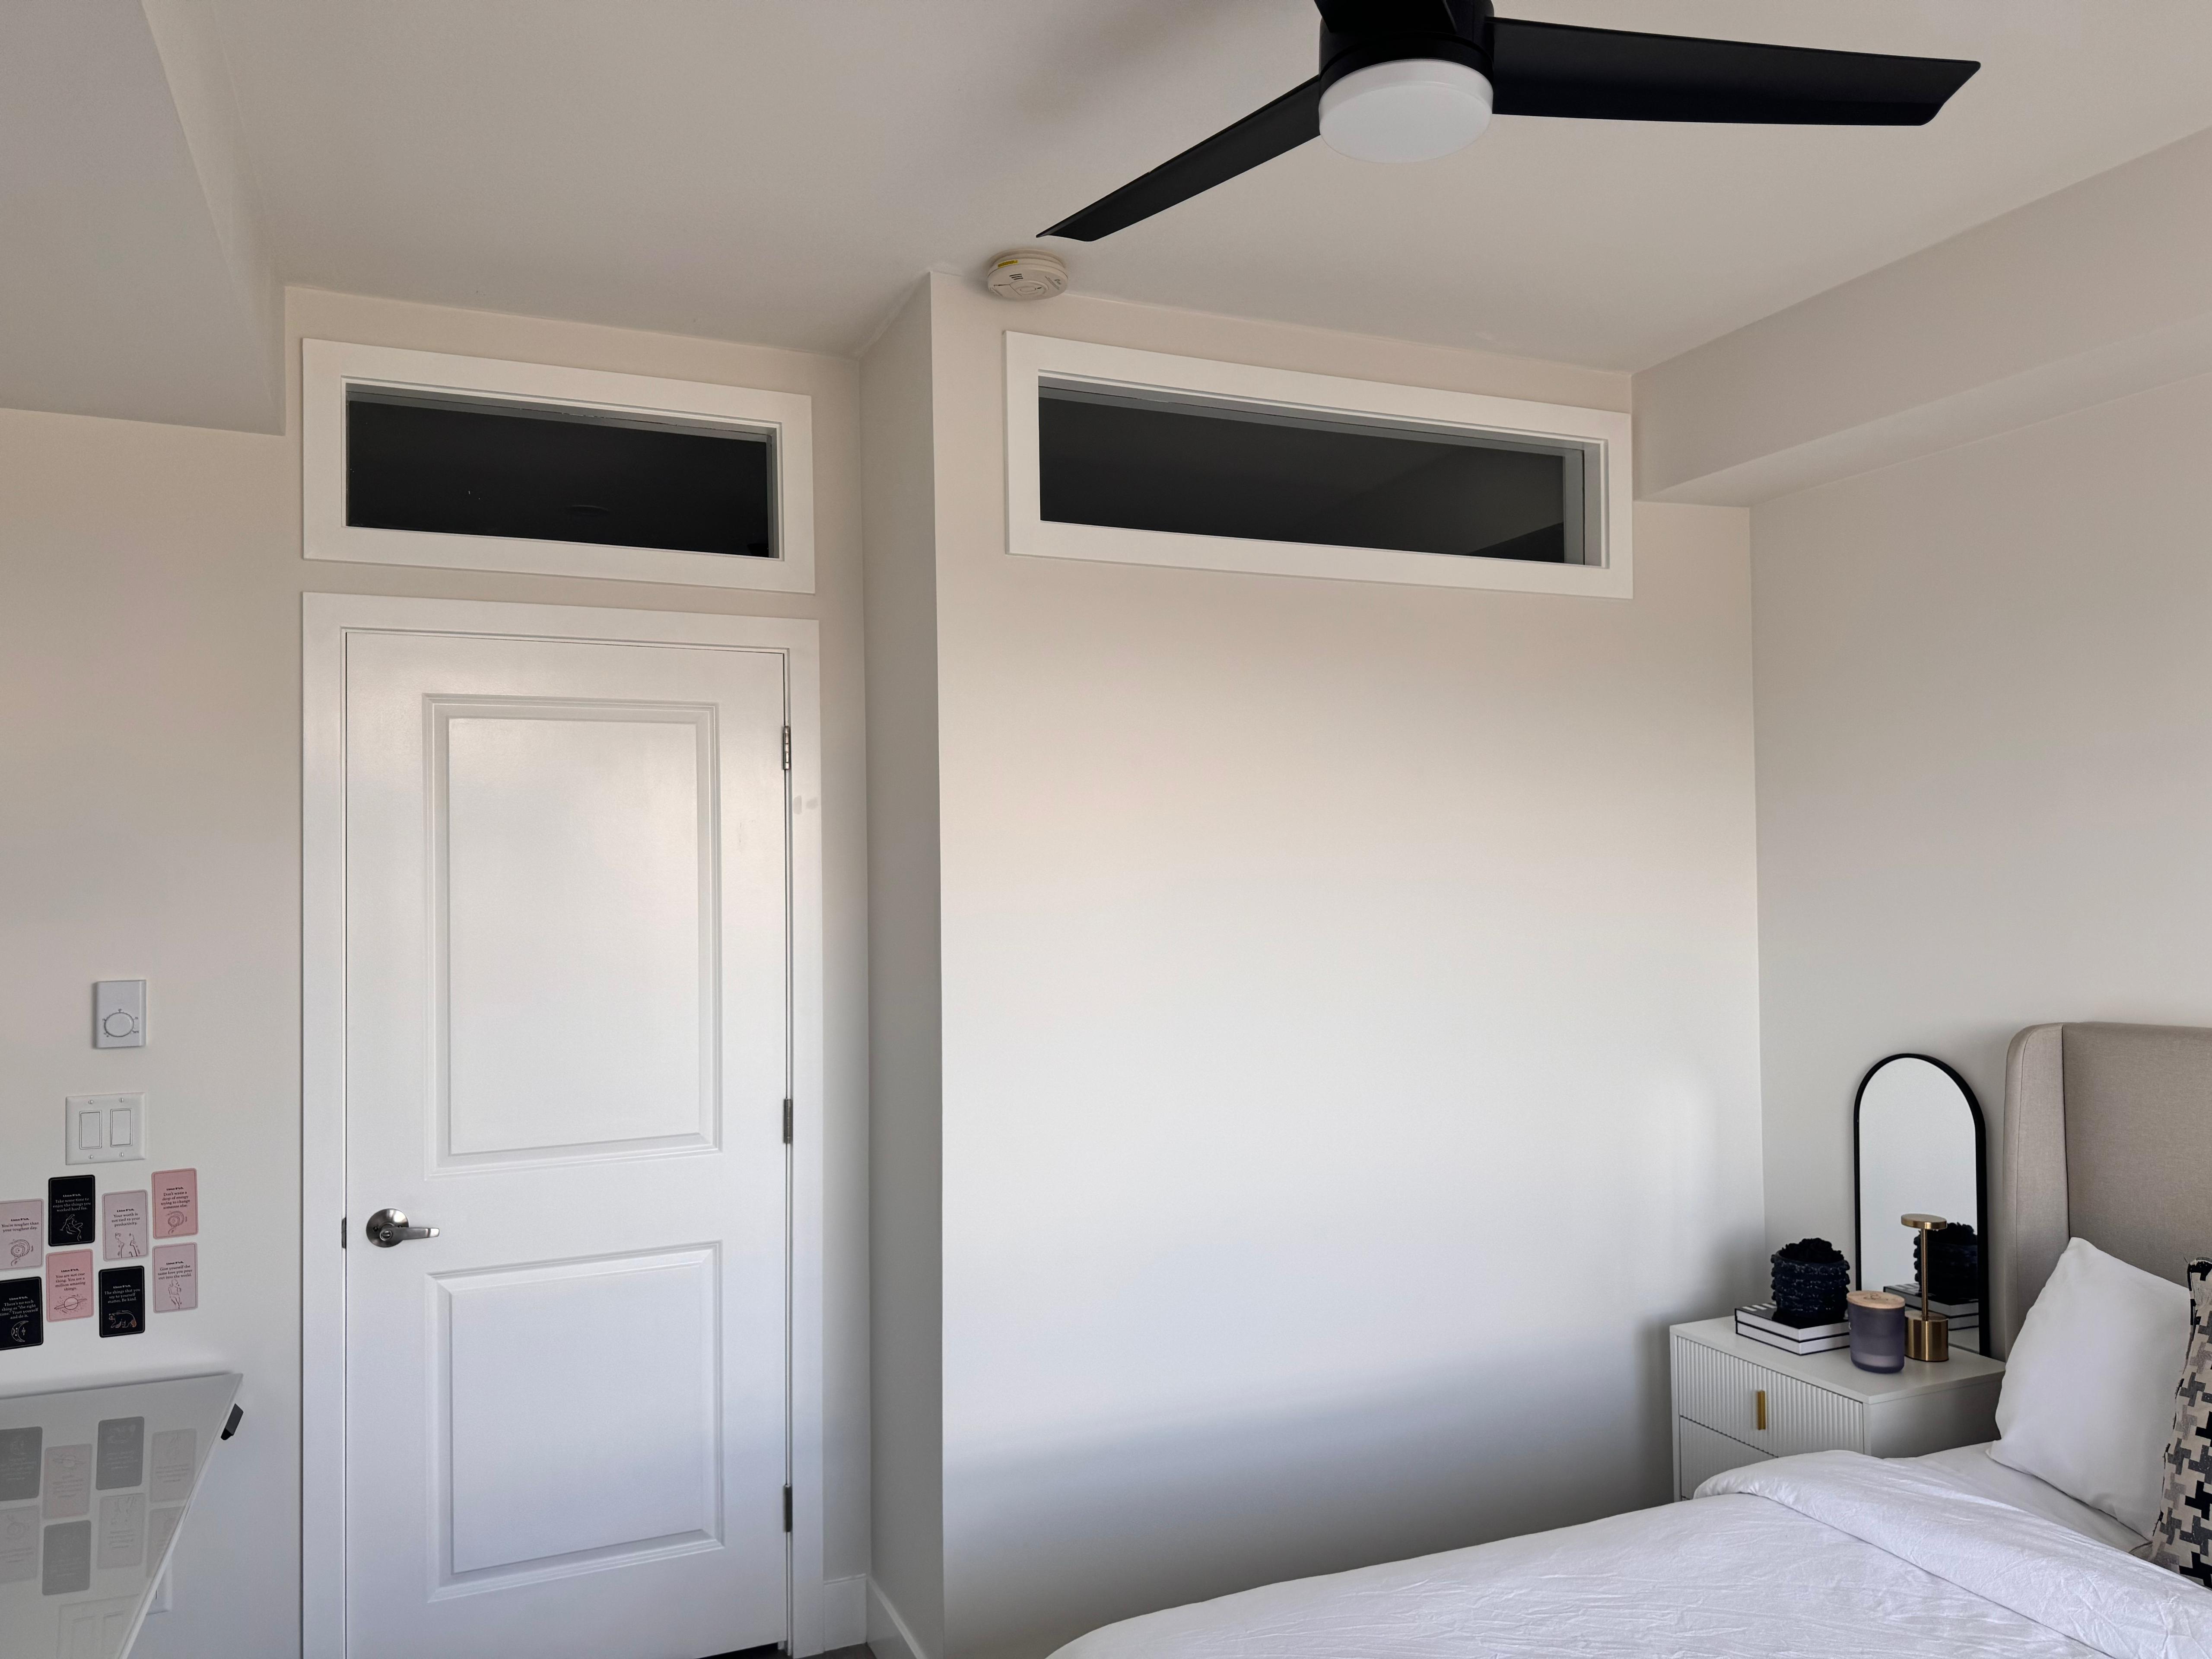
Glass at the top of the partition allows natural light from the bedroom side to reach the living area, even when the bedroom door is closed. The two openings preserve that connection while the wall below separates the rooms.
The finishing around the glass was an important part of the result. White casing frames each opening, with clean edges and consistent lines that connect the glass, doorway, and painted wall.
04 · The finished home
From One Open Studio to Two Distinct Spaces
The completed condo has a separate bedroom, a living area shaped around the sofa, and glass that keeps natural light moving between them. The result began with the customer’s idea and took shape through sketches, conversation, and careful finishing.
More finished-project photos