
Mould-Free Silicone Resealing
Stop the cycle. I remove mould-stained silicone completely, prep the joint properly, and reseal with sanitary-grade mould-resistant silicone for a clean, durable finish.
Serving Chilliwack, Abbotsford, Mission, and the Fraser Valley.
Why mould keeps coming back
It’s usually not just a “cleaning” problem. When silicone has gaps, voids, poor adhesion, or was applied over damp/soapy surfaces, water can sit behind the bead—creating the perfect environment for mould. The fix is full removal + correct prep + reseal, not scrubbing the top.
- Complete removal of old silicone (no residues left behind)
- Thorough clean & dry to remove soap film and moisture
- Sanitary-grade silicone designed for wet areas
- Smooth, continuous bead to reduce water ingress points
Common Silicone Problems I Fix (and what it usually means)
These are the exact issues homeowners describe when they search. If any of these sound familiar, the solution is usually full removal + correct prep + sanitary reseal.
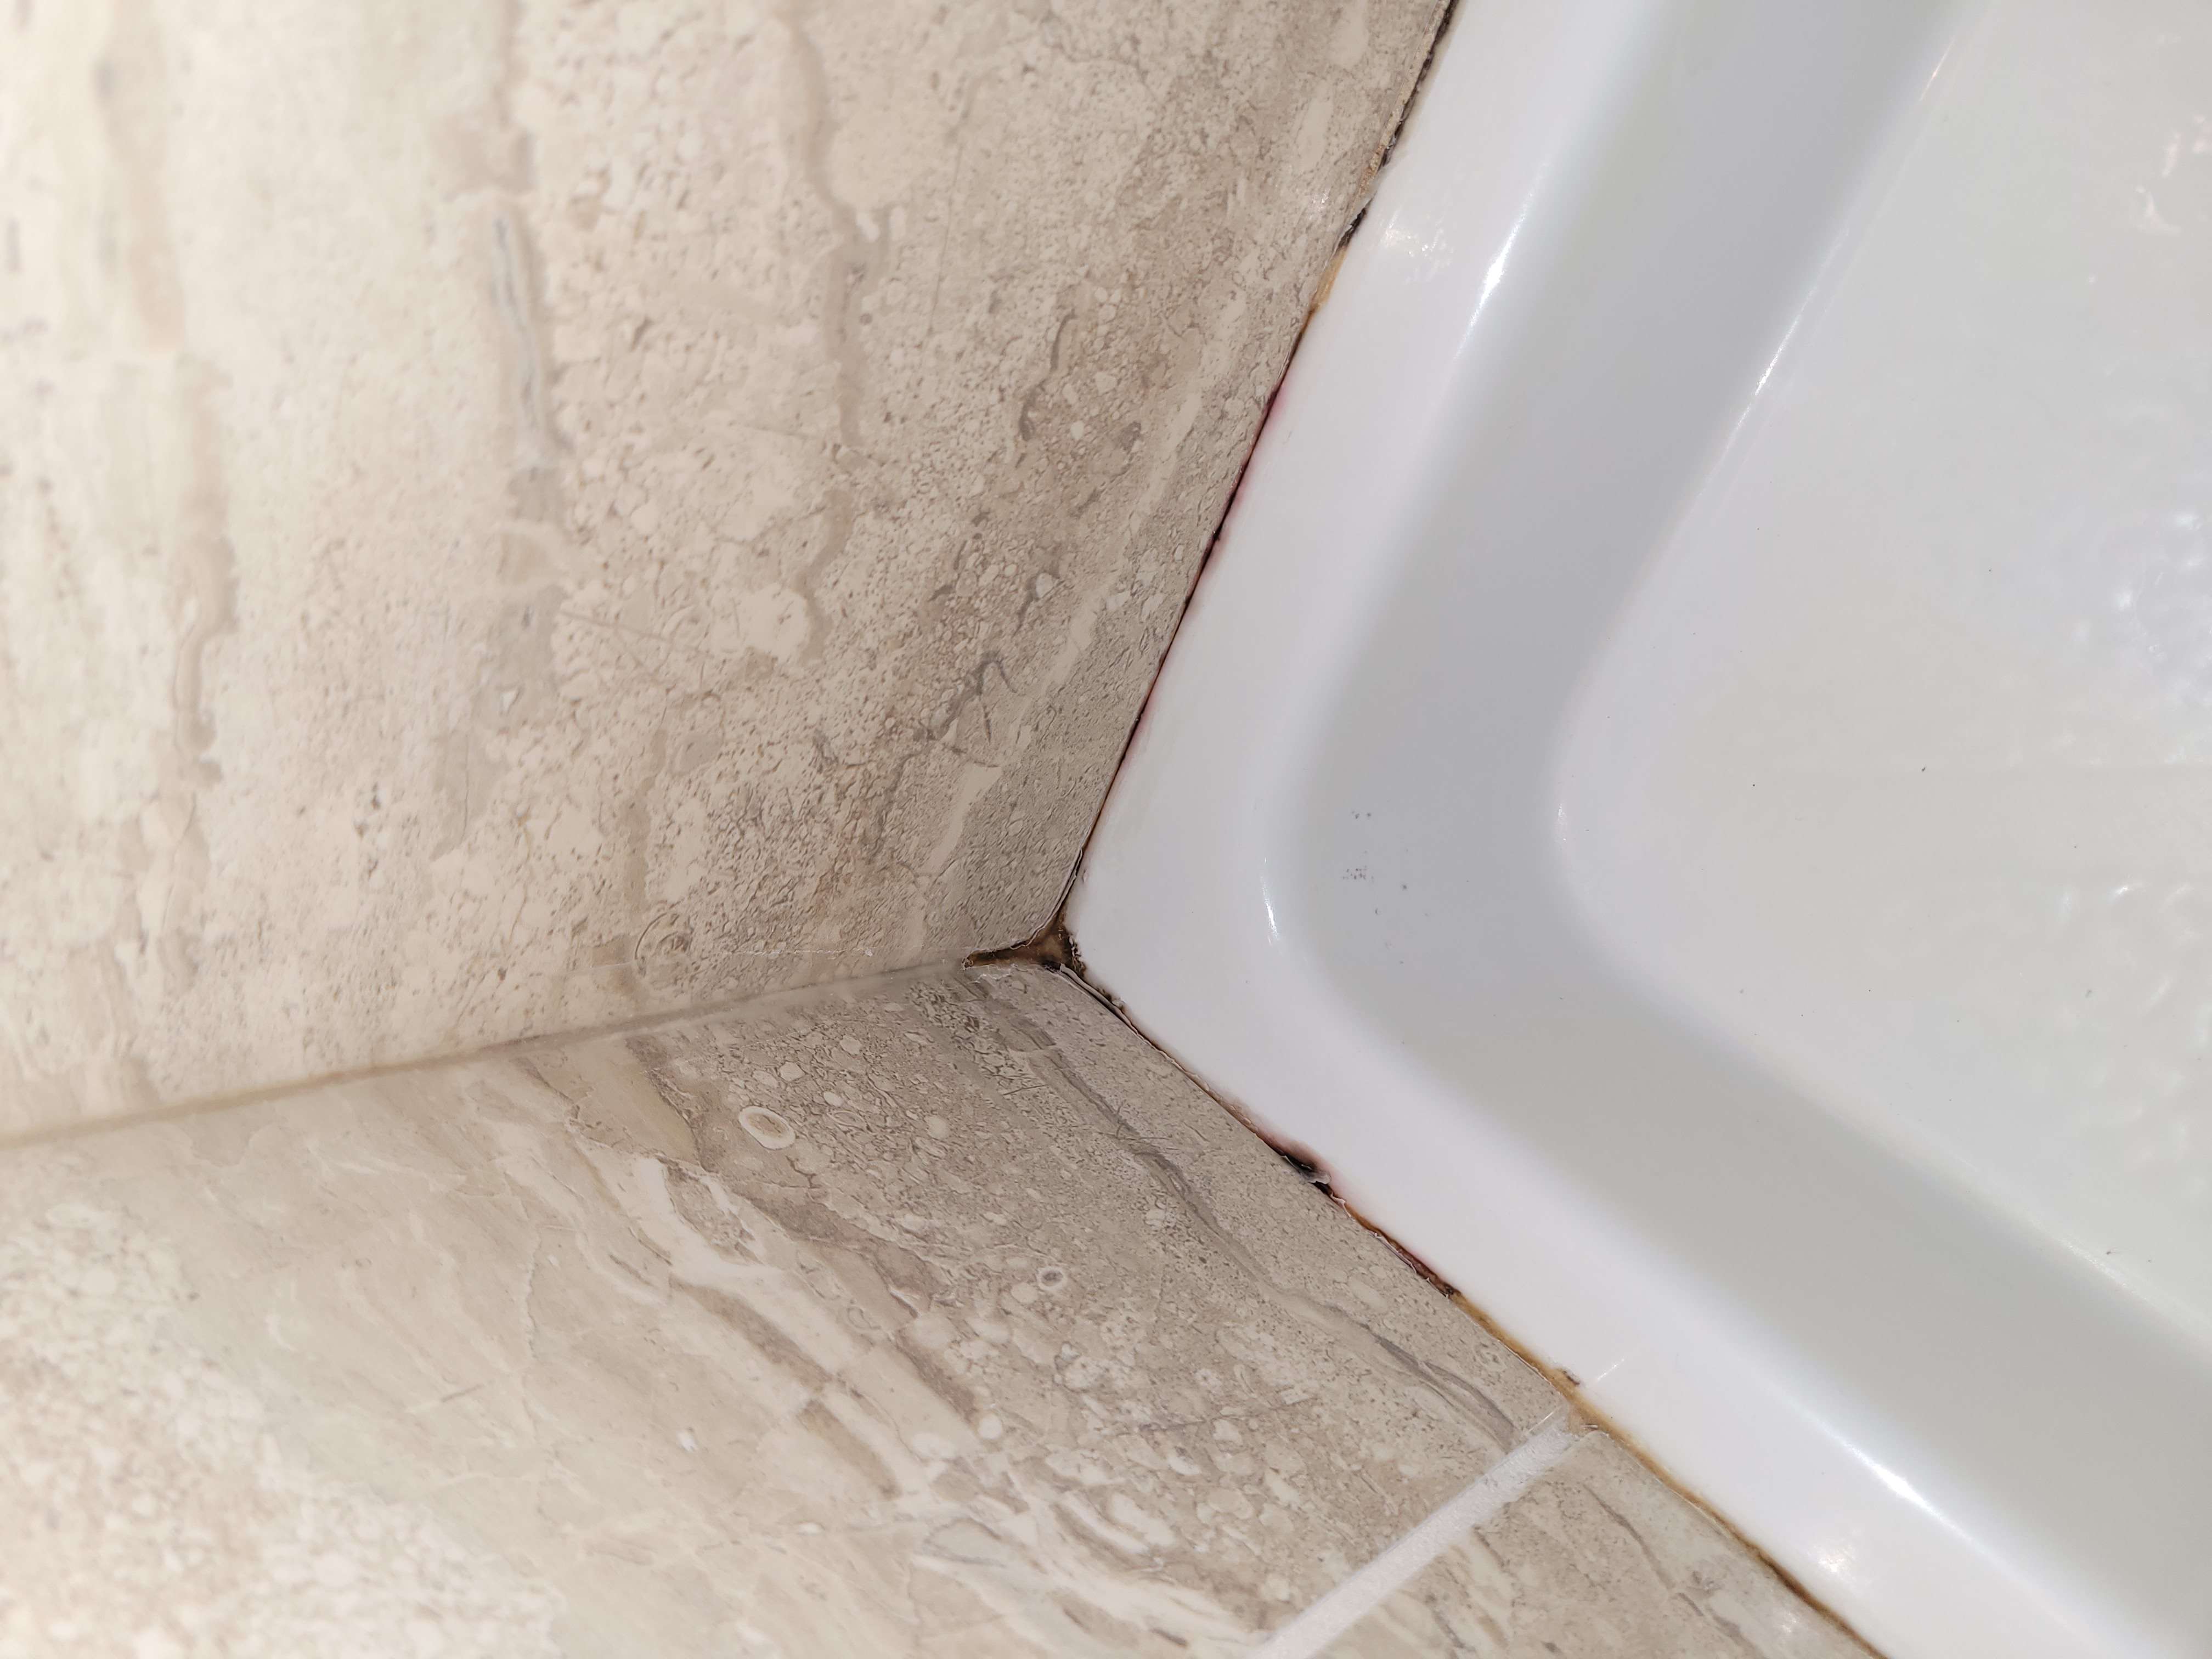
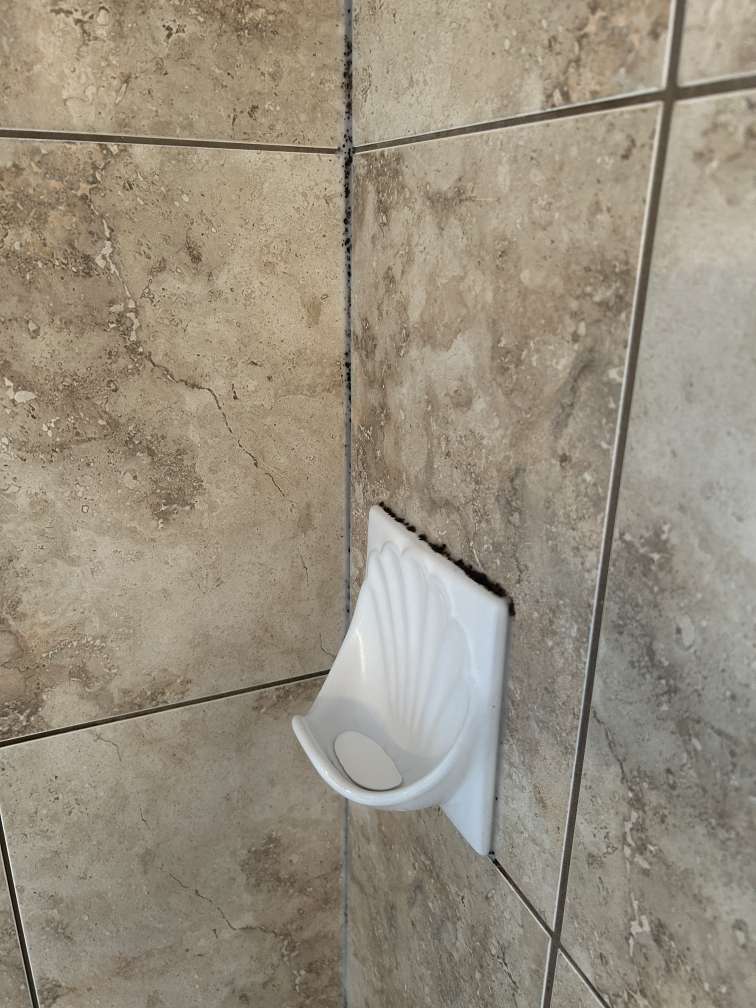
Black mould at corners
Often moisture is sitting behind partially failed silicone—cleaning the surface won’t stop it.
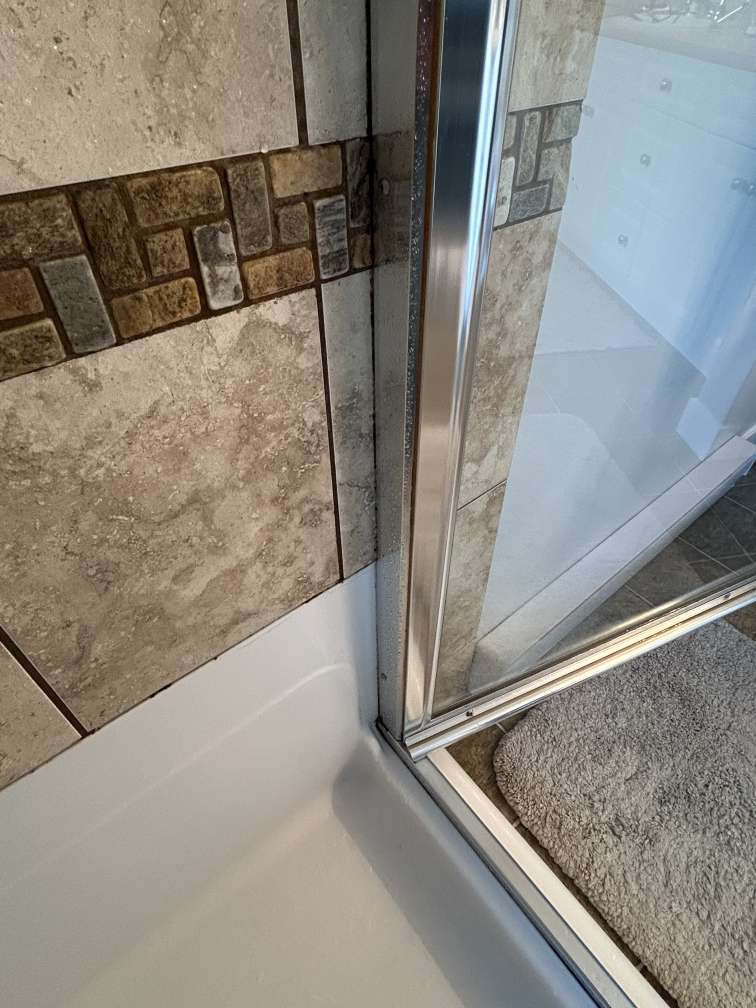
Silicone pulling away / gaps
Loss of adhesion lets water enter behind the bead. Resealing over top won’t hold.
Cracked or hard silicone
Old beads lose flexibility and seal performance—especially around tubs and shower bases.
Water getting behind the bead
Usually caused by poor prep, soap film residue, or movement at joints. Fix requires proper prep + bead size.
Smell that won’t go away
Can be trapped moisture behind failed silicone. I’ll inspect for signs that a leak may be involved.
Messy / uneven caulking lines
Aside from looks, uneven beads often create weak points where water can enter.
Service Area (Fraser Valley)
I provide mould-free silicone resealing in Chilliwack, Abbotsford, Langley, Surrey, Mission, Agassiz, Hope, and nearby Fraser Valley communities.
What to send for a fast quote
- 2–3 photos of the joint(s) (corners + close-up of mould/gaps)
- Which area: shower / tub / vanity / kitchen sink
- Approximate length (rough estimate is fine)
Where this service helps
Showers & Tubs
Perimeter seams, vertical corners, glass tracks, tub-to-tile transitions.
Bathroom Vanities
Sink rims, backsplash seams, counter-to-wall joints.
Kitchens
Sink perimeters, counter seams, backsplashes, water-prone edges.
Other Damp Spots
Laundry sinks and wet-zone trims where water exposure is frequent.
My 5-step resealing process
- Inspect & protect: Confirm failed joints and mask surrounding finishes.
- Full removal: Cut out all old silicone—no skim coating over existing beads.
- Clean & dry: Degrease, remove soap film, and fully dry the surfaces.
- Apply silicone: Sanitary-grade bead sized correctly for the joint.
- Tool & advise cure: Smooth finish and confirm when it’s safe to use again.
Benefits you’ll notice
Cleaner look
Fresh joints can make the whole bathroom or kitchen feel newer.
Longer-lasting
Correct prep + quality silicone improves durability and performance.
More hygienic
Reduces the hidden moisture pockets that feed regrowth.
Water-tight
Helps prevent water migration behind finishes where damage starts.
Scope & safety (clear expectations)
- PPE: Gloves, eye protection, and an N95 respirator during removal.
- Scope: Surface mould on silicone / failed joints only.
- When I’ll pause and advise: If mould appears to extend into drywall/sub-surfaces or a hidden leak is suspected, I’ll recommend the right next step.
- Remediation note: If the total visible mould is very large (example: larger than ~3 m²) or repeatedly returns due to a leak, professional remediation may be required.
Aftercare (helps prevent regrowth)
- Let new silicone cure (often ~24 hours; I’ll confirm your product’s time).
- Run the bathroom fan during showers and for ~20–30 minutes after.
- Wipe/squeegee wet joints after use; keep surfaces clean and dry.
- Fix leaks promptly; keep humidity around 30–50% if possible.
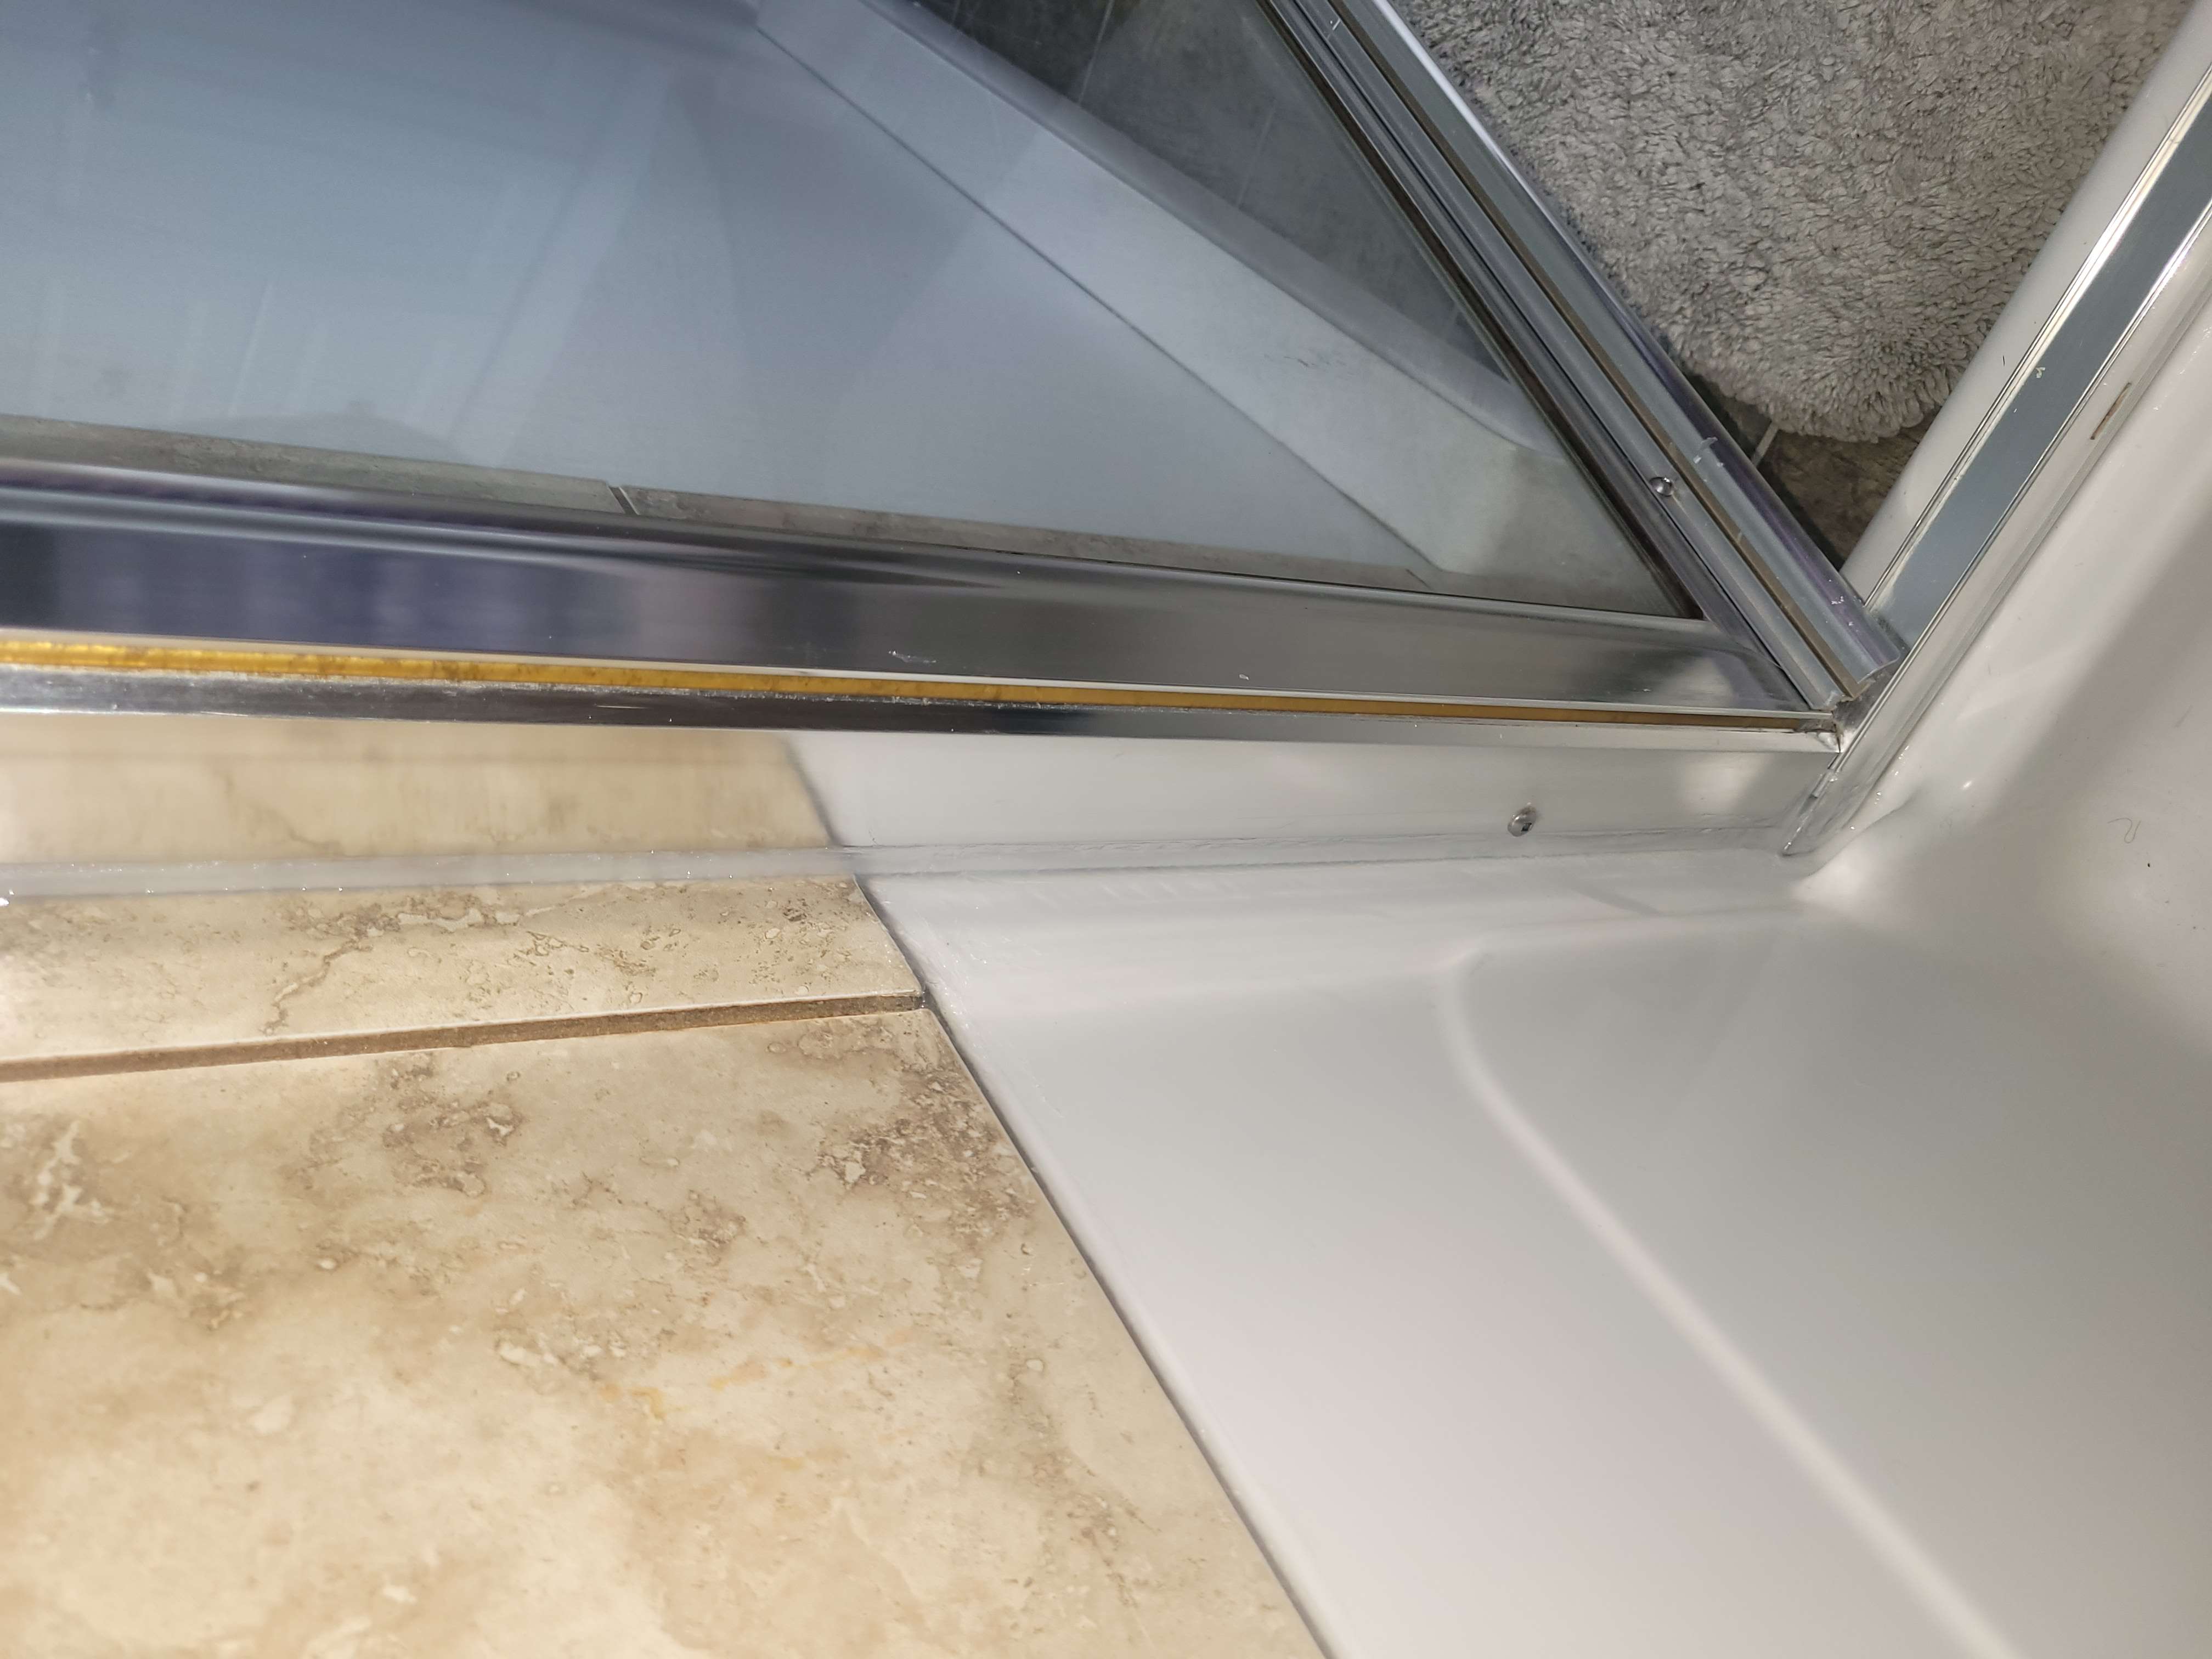
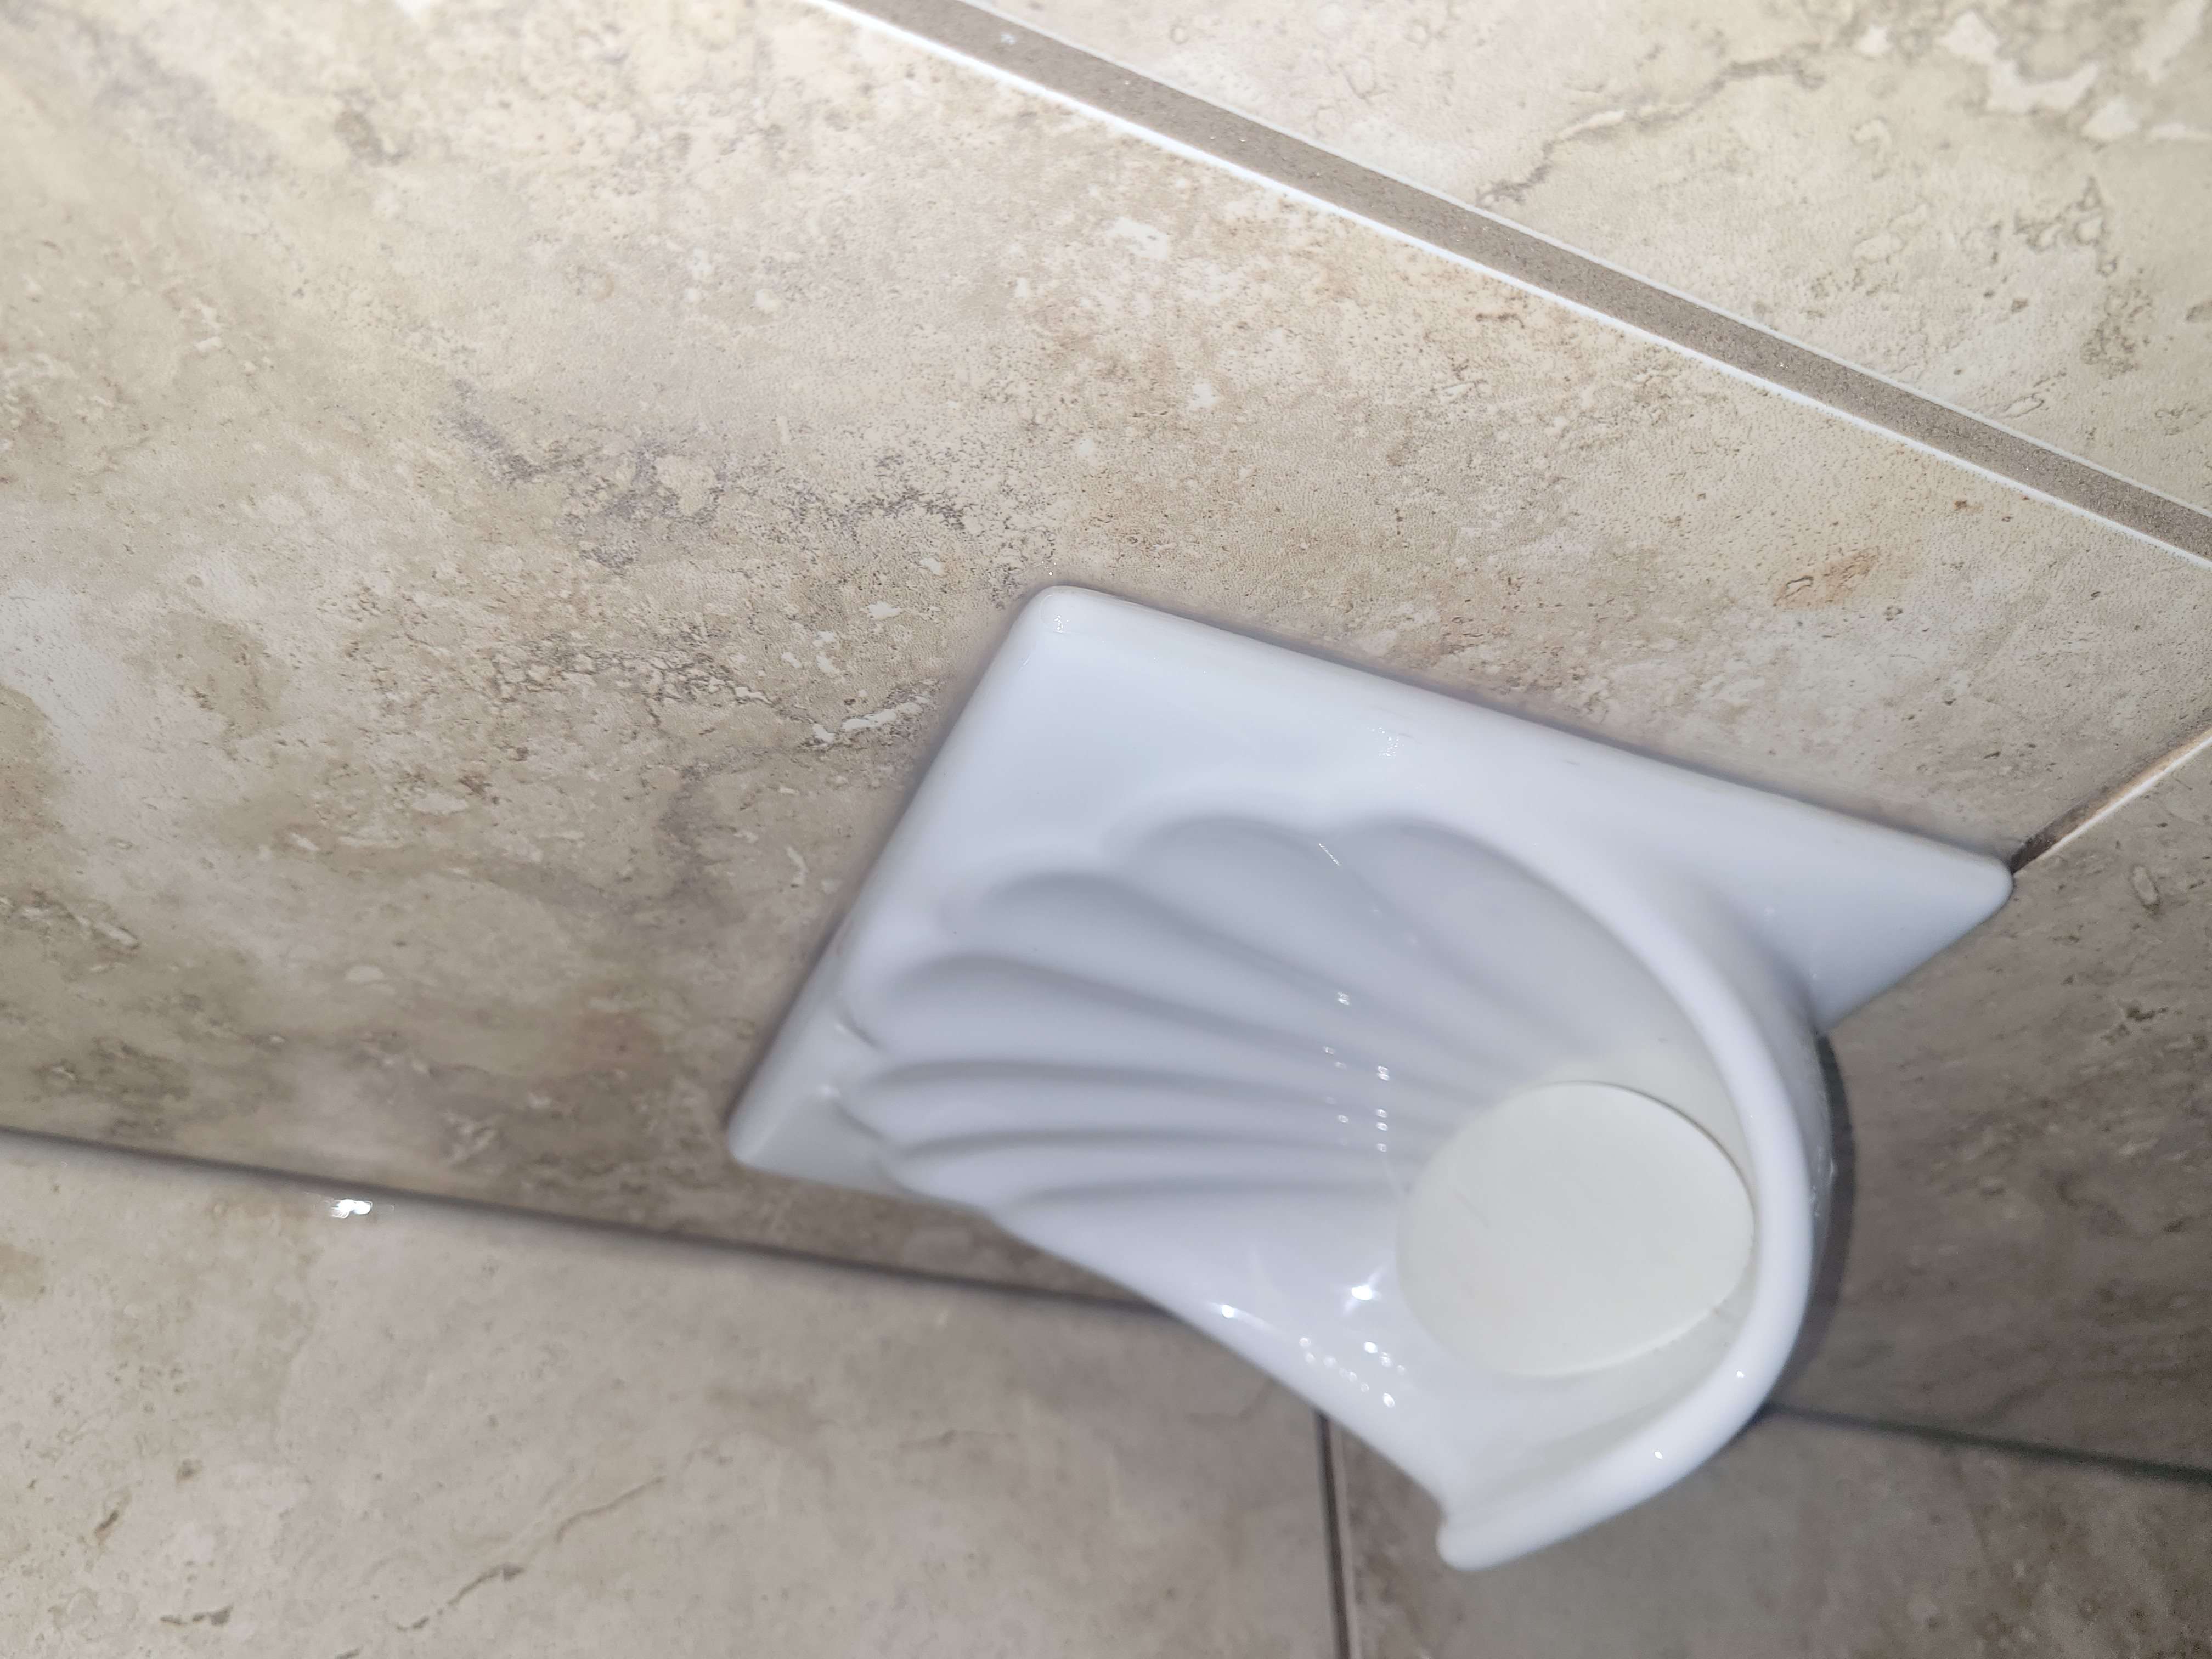
Before & After

Quick FAQ
How long before I can use the shower?
Typical cure time is about 24 hours (product-dependent). I’ll confirm on site.
Will the mould come back?
Proper prep + quality silicone helps a lot. Ventilation, wipe-down, and fixing leaks are the keys to keeping it away.
Do you colour-match silicone?
Clear and white are standard; other colours may be available depending on the area.
Can you quote from photos?
Often yes. Send a couple of photos and the approximate length of the joints. If the situation is complex, I may suggest a quick visit.
Ready for a mould-free bathroom or kitchen?
Send 2–3 photos and the approximate joint length. I’ll reply with a clear plan and a quick quote.
Contact Now Verified Reviews